The car radio accompanies you in your car, both on short daily trips and long journeys, for pleasure and for work… It is the ideal companion for your journeys. Entertaining, it doesn’t bother you and can even be very useful thanks to many features, from DVD playback to USB port and GPS…
This post will guide you through the steps to install your car radio.
Mounting a car radio
Mounting a car radio is now easy and quick to work on. All you have to do is plug in a few outlets and you can enjoy more sophisticated equipment (which connects via Bluetooth to your smartphone, for example, or with a GPS screen) or more advanced technology.
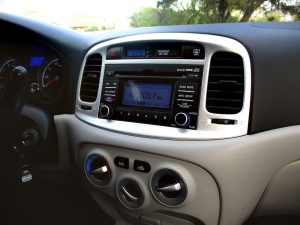
Before mounting, simply check the format of your workstation: the DIN format is the classic format. You will also find workstations in double DIN format, twice as big, often with a larger display. Make sure you have enough space to adapt it on your dashboard.
Technical Characteristics Necessary for Car Audio Installation:
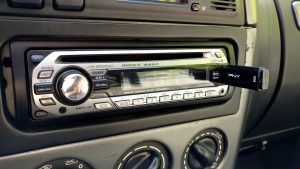
– The classic 1-DIN car radio
– The spacer: 2-DIN
Which DIN to Choose?
When 1-DIN devices are high-end, they can offer you all the options available on the market: CD, radio, auxiliary input, touch screen, GPS, DVD, etc. They are practical, ergonomic, and have a real comfort of use. Check that the 1-DIN is ISO compliant, to ensure its compatibility with your car’s spacer.
The dual DIN or 2-DIN requires two locations for installation. Their advantage is their screen size which can reach 7 inches. They offer a number of functions: GPS, a rearview camera, a DVD player. They can also offer a hands-free option. Finally, most are compatible with all audio and video formats available on the market: MP3, DVD-R, DVD-RW, DVD+R, DVD+R, DVD+RW, WMA, DivX.
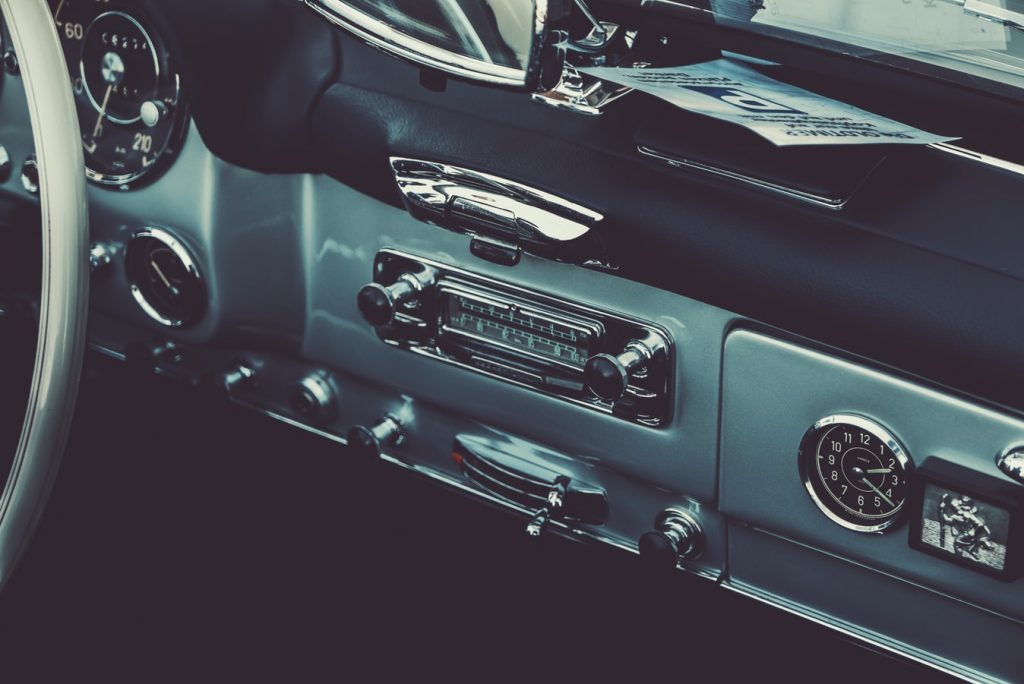
Always check that your car can accommodate a double-DIN. In older car models, there is not always a double location. In this case, make sure that a compartment is located above or below the radio slot. This will allow you to use this space as a second location.
1. Remove the Old Car Radio Station
If there is no car radio in the car, simply remove the cover to uncover the station compartment in the dashboard.
To remove the old car radio, first, remove the hubcap to access the spindles.
You will then need to use specific extraction keys. Insert the two metal rods into the holes provided on the left and right of the station until you hear a click. Then pull the station. It must come without too much resistance. Do not force it.
Then disconnect the old car radio: the power cables (2 sockets) and the antenna cable.
2. Install the Frame of Your New Car Radio
A metal frame has been provided with your new station. It is used to keep the car radio securely in place in its housing.
– Insert the mounting sleeve into the dashboard.
– With a small flat screwdriver, press down on the fixing tabs to secure it to the dashboard.
3. Connect Your Car Radio
Most vehicles and car radios have two ISO standard sockets (for power supply and speaker connection), and an antenna connection, which can be connected simply like a plug-and-play.
Some vehicle models have specific plugs: adapters are available for sale to return to an ISO model.
Similarly, antenna sockets have two standards, but there are adapters to match them.
As a last resort, if you discover that the plug is non-existent (e. g. an old vehicle), you will have to connect the wires either to an ISO plug or directly to the chosen station. For this purpose: probe the wires with a multi metre.
Connect the wires with lugs so that they can be disconnected or soldered.
Then protect your welds with heat-shrinkable tubing: the wires must never touch, contact or your vehicle could catch fire!
4. Install the Additional Elements
You can connect up to 4 speakers with standard ISO connectors. But some stations or equipment require additional installations:
You will have an extra connector to plug in if you have a CD changer or amplifier in the trunk of the car.
The same goes for keeping control of the steering wheel controls.
To install a Bluetooth hands-free kit, you will need to attach the microphone in height. To do this, run the microphone cable through the rear of the dashboard, uncover the windshield pillars and run the cable behind to reach the sun visor.
5. Test Your Connections
Before you fully insert your new workstation into the dashboard: turn it on to test your connections.
Check the power supply, radio station search, CD or K7 player if there are any, volume, balance between left and right speaker.
6. Attach the Car Radio to the Dashboard
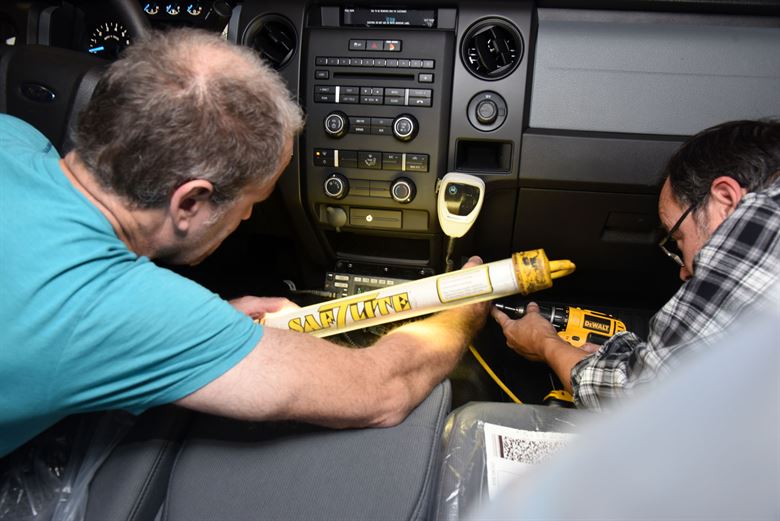
All you have to do is put your new station in its holder and push it until it is locked. Again, don’t force it. If the advance of the substation is blocked, it may be because a cable harness is interfering. Remove the station, shift the cables and start again.
Finally, add the trim to the finish. In case you find all of the above difficult to install, don’t hesitate to call professional technicians to install or customize your car audio.