Driving is not just a means of transportation; it’s an experience that can be elevated by the perfect soundtrack. For automotive enthusiasts, the prospect of upgrading or replacing a car radio isn’t just a technical task; it’s an opportunity to craft a driving ambience that resonates with personal style and preferences. In this comprehensive guide, we’ll not only provide step-by-step instructions for connecting your car radio but also celebrate the art of creating a customized in-car audio experience.
Unveiling the Components
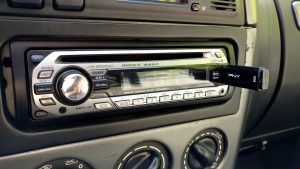
1. Assessing Your Car Radio:
Before diving into the installation process, take a moment to appreciate the role your car radio plays in your driving experience. Whether you’re aiming for a more powerful audio output or seeking advanced connectivity options, understanding the capabilities and specifications of your existing or new radio sets the stage for a gratifying upgrade.
2. Gathering Essential Tools:
Imagine this as assembling your toolkit for a musical engineering project. The set of screwdrivers, wire strippers, crimp connectors, and a trim removal tool are your instruments for orchestrating a harmonious blend of technology and audio finesse.
Navigating the Installation Process
1. Disconnecting the Battery:
Safety is paramount in any automotive DIY project. Disconnecting the car battery ensures not only your well-being but also a secure environment to embark on the journey of enhancing your car’s audio capabilities.
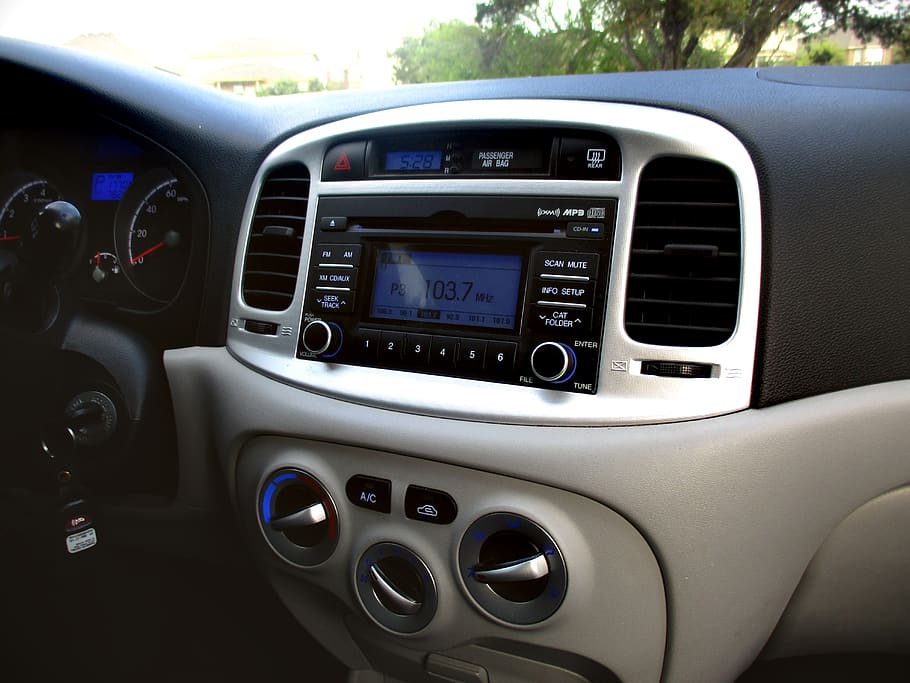
2. Removing the Existing Radio:
This step isn’t just about uninstalling a piece of equipment; it’s a symbolic gesture, making room for the new and embracing the evolution of your car’s audio landscape. Gently removing the existing radio sets the stage for the transformation that lies ahead.
Making the Connections
1. Identifying Wiring Connections:
Think of this as connecting musical notes. Each wire has its role, and matching them seamlessly ensures that the symphony of sound flows effortlessly through your car’s audio system.
2. Connecting the Wiring Harness:
As you plug the wiring harness into the car’s corresponding port, envision it as the moment when instruments join in unison to create a melodious ensemble. This connection is the backbone of your in-car audio symphony.
Testing and Finalizing
1. Securing the Ground Wire:
Grounding your new radio is akin to establishing a solid foundation for a musical performance. Find that perfect grounding point, and with the secure connection of the ground wire, lay the groundwork for a stable and robust audio system.
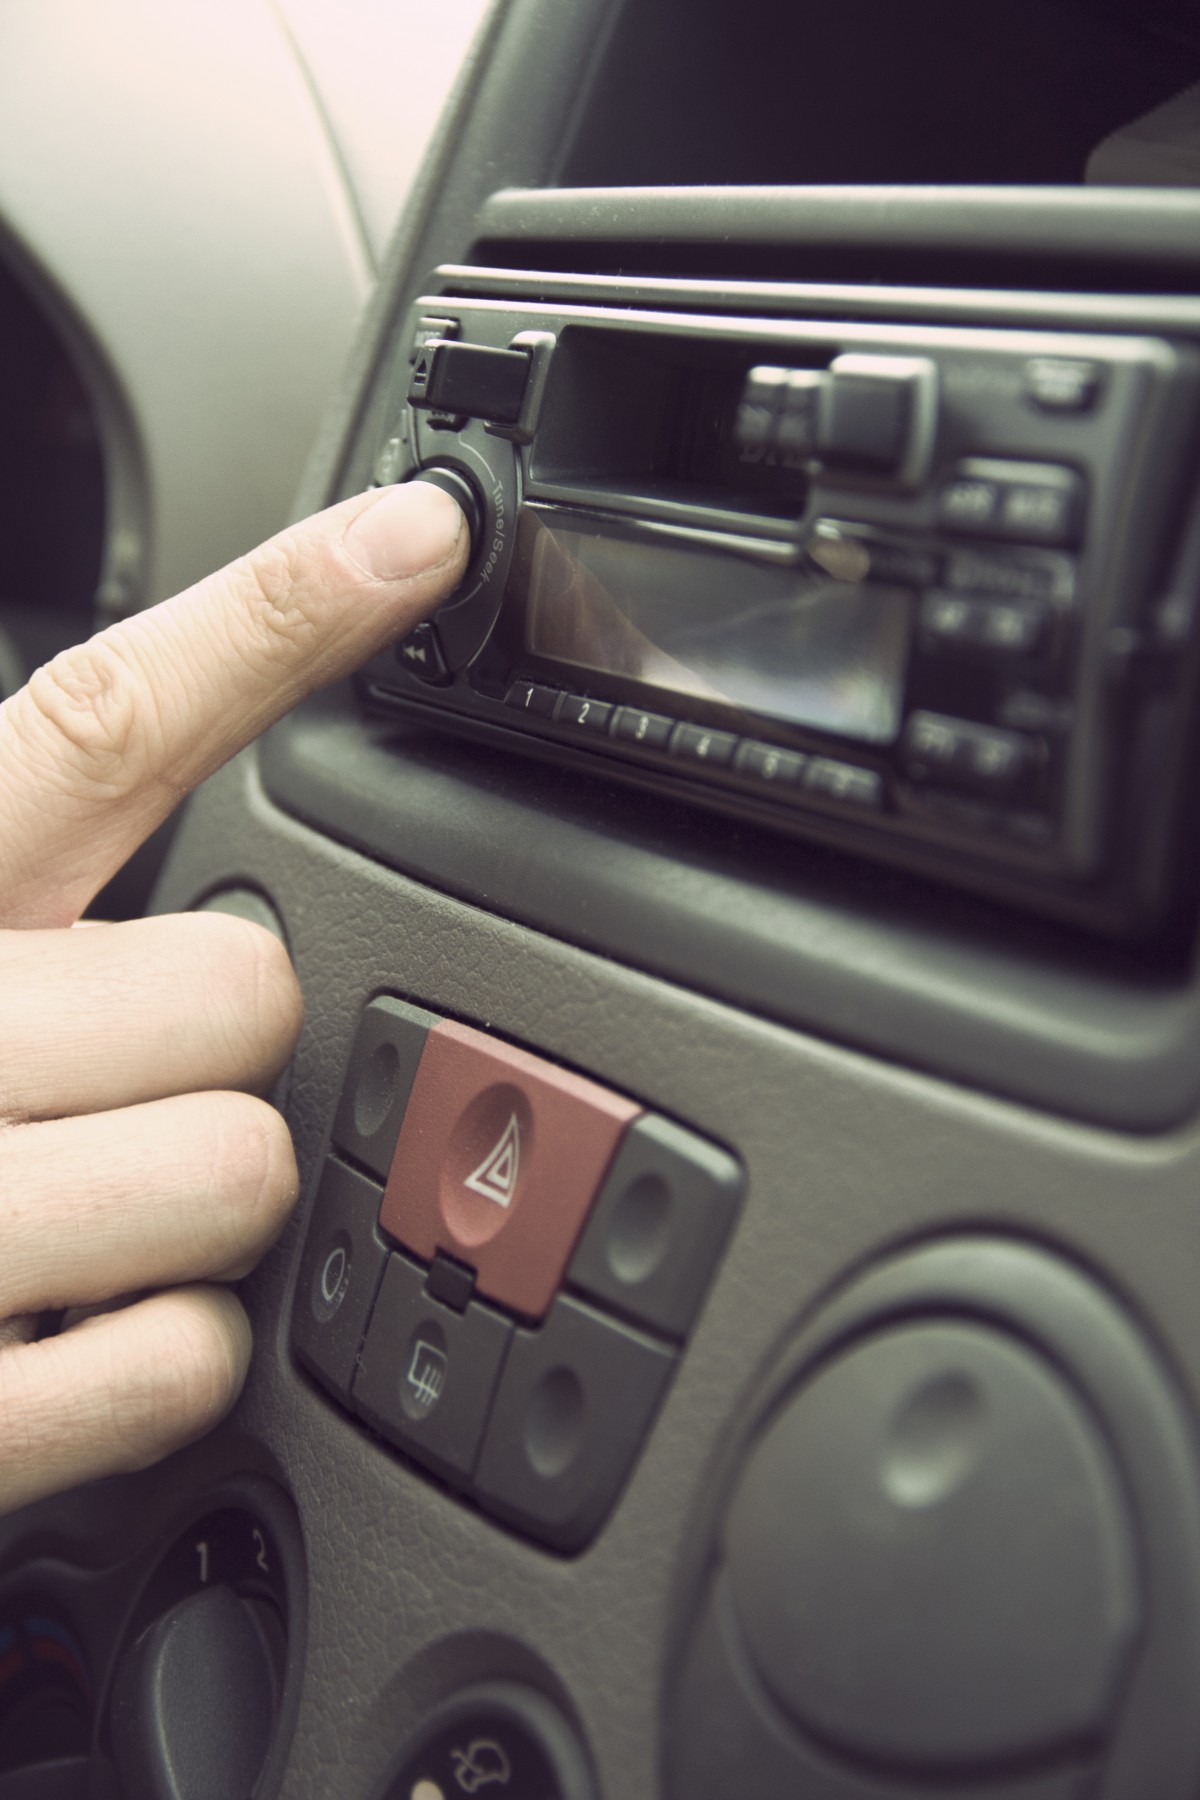
2. Testing Functionality:
The moment of truth has arrived. As you reconnect the car battery and power on the ignition, imagine the first notes of a concert. Test every feature, fine-tuning each element to ensure that your audio system is not just functional but exceeds expectations.
Cruising with Customized Soundscapes
As you conclude this DIY journey of connecting your car radio, envision your car as a rolling concert hall. Every connection made, every wire secured, contributes to a personalized in-car entertainment system tailored to your taste. So, as you rev up your engine, hit the open road, and immerse yourself in the harmonious soundscapes of your own making, savour the satisfaction of turning every drive into a journey through your curated audio landscape. Whether you’re navigating city streets or cruising along highways, your DIY car radio installation ensures that every mile is accompanied by the perfect soundtrack, elevating the joy of the journey itself.
Hope this guide inspires you to embark on your own journey of upgrading your car audio experience. Have you recently connected a new car radio, or do you have any additional tips to share? Your insights can contribute to our community of automotive enthusiasts. Share your thoughts and experiences in the comments section below – let’s keep the conversation rolling!