
Contents
Role of a relay
Case 1: Connect a car relay (in part 1)
Case 2: Connect a modular electrical relay (in part 2)
A relay allows you to add equipment to your car. It is a switch with a control circuit that operates on very low voltage or batteries (from a button, remote control, or any other control device). But it can also be used to control equipment operating at a higher voltage, such as 230 V, thanks to its separate operating circuit.
Role of a relay
You may need a relay in different fields: automotive, household appliances, electrical tools, domestic electrical installation, home automation…
This small electrical or electronic device can relay information called low power to switch one or more circuits of a higher power.
Good to know: understanding how to connect a relay requires basic notions of direct current (used in the automobile and electronics industry) and alternating current (used in the home).
How a relay works
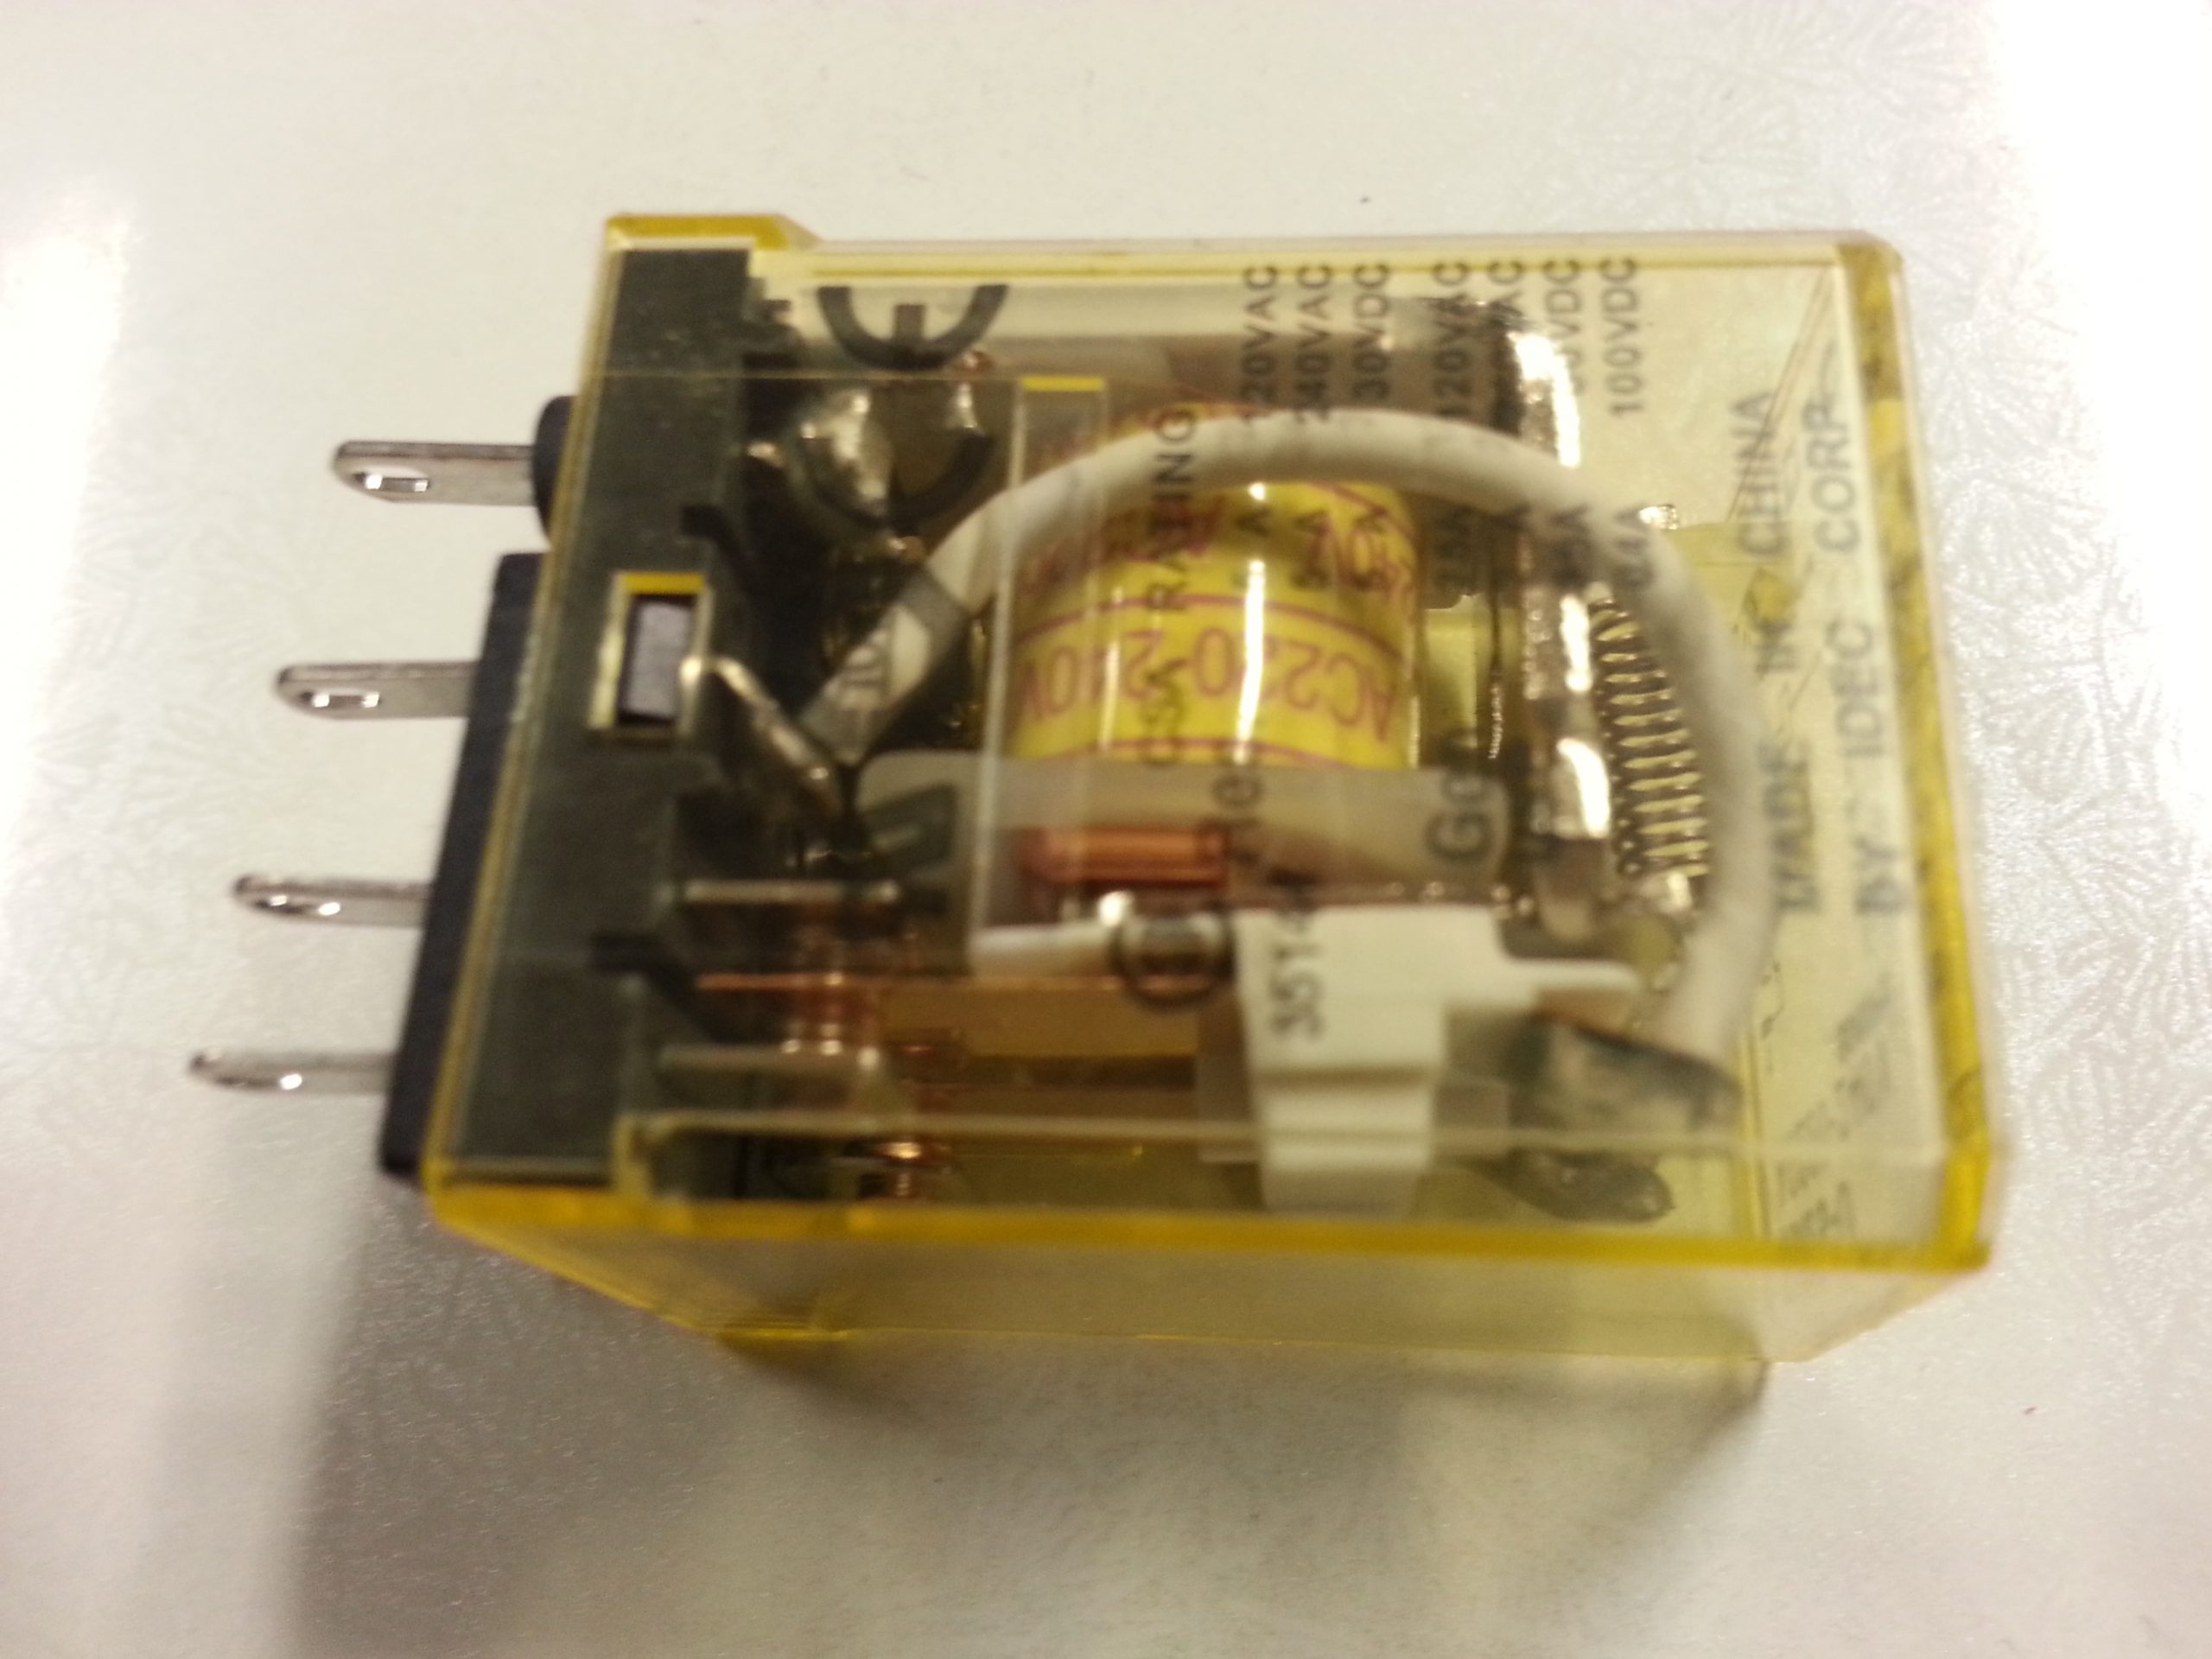
In the case of an electromechanical relay, it is a component that behaves like a switch except that an electric coil operates its control.
The coil creates a magnetic field that attracts a metal part, which causes contacts to close or open.
These contacts close the power circuit and let the current flow to the receiver.
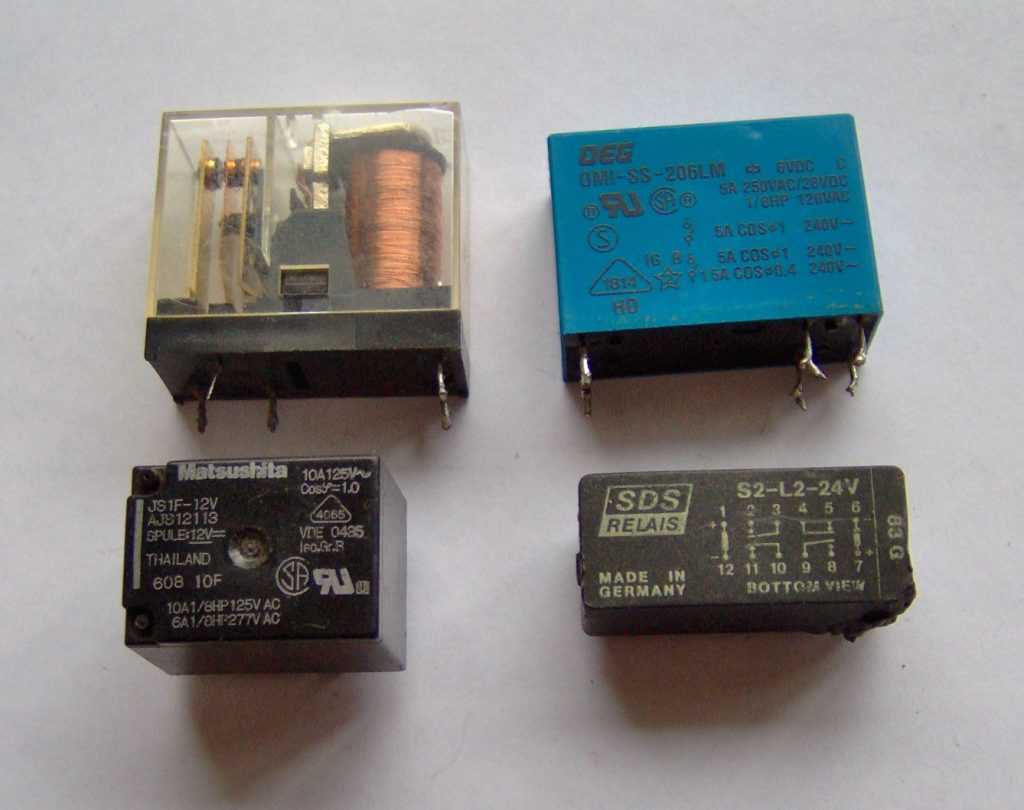
Different kinds of relays
The monostable relay
It requires a permanent power supply to its coil via a push-button or switches to activate its contacts.
Once the push button is released or the switch reset, it returns to its initial state.
Good to know: In automotive and electronics, monostable relays are used. They operate on + and – polarized direct current.
The mechanical bistable relay
It changes state by an impulse delivered by a push-button supplying the coil.
If the button is released, the coil is no longer energized, but the relay remains locked in its position.
A second impulse is required to change its position.
Good to know: this mechanical device locks the relay in one position or another. It is similar to a remote control switch, which has the same function.
The electrical bistable relay
2 coils operate the electrical bistable relay. They each have a different function: one for hooking and the other for unhooking.
Good to know: bistable relays are used in the household. An alternating current powers them with a higher voltage, usually 230 V.
Case 1: Connect a car relay
Connecting an automotive relay is necessary, for example, to control additional headlights, such as long-range or fog lights.
Get a relay and a switch.
Choose a 4-pin DC 12 V relay:
– 2 pins marked 85 and 86 for the DC 12 V coil;
– 2 pins marked 30 and 87 for the contact.
Also, equip yourself with a 2-position control switch.
It allows you to stick the relay, which will power your headlights by closing its contact.
Conversely, turning off the switch opens the circuit and drops the relay that will cut off your headlights.
Attach the relay
Locate where to place your relay: in the engine compartment, next to the available fuse box.
Attach the particular automotive relay, with a mounting bracket, with a screw.
Attach the switch
The fixing of the switch depends on its shape.
Rectangular toggle switch
It can be adapted to some pre-cut regions of your dashboard often covered by a shutter:
remove the shutter; clip on your switch.
If your rectangular switch is smaller than the intended location:
– make a cut-out in the shutter to fit it in;
– put the shutter back in its place.
Cylindrical toggle switch
The mounting is cylindrical on the control lever (the cylindrical part with 2 nuts).
– Drill a plug at the diameter of the thread.
– Secure the switch with a nut and a lock nut.
– Then put the plug back in its place.
– Plug the switch in 2 positions
Important: before any intervention on your car’s electrical network, disconnect the + of your battery.
This post will now continue in part 2 in our next publication this week. Stay posted, and remember to leave your comments below.

One thought on “How to Connect a Car Relay (Part 1)”