
Contents
Focus on the causes of a clogged catalytic converter
Step 1: Identify symptoms of a clogged catalytic converter
Step 2: Proceed with temporary troubleshooting
Step 3: Replace the catalytic converter
A car’s catalytic converter is designed to cover a minimum of 80,000 km. But in reality, replacements are much more frequent. They are often due to malfunctions or unfavorable driving conditions.
Bring your car to a professional auto maintenance and repair shop. After diagnosing if your catalytic converter is clogged, they will analyze the causes. Then, using a methodical procedure, they will temporarily repair the catalytic converter until the part is received. Then replace it with a new one.
If you can manage to repair your car by yourself, then this post provides you with a step-by-step procedure for replacing a clogged catalytic converter.
Focus on the causes of a clogged catalytic converter
Special conditions or certain malfunctions are often the cause of a clogged catalytic converter.
Operating conditions unfavorable to the catalytic converter
The chemical transformation of pollutants by the catalytic converter at the engine outlet, to be efficient, depends on 2 parameters:
– the engine temperature;
– the operation of the oxygen sensor (or lambda sensor).
But in certain situations, these 2 parameters are not favorable: the catalytic converter then becomes saturated with hydrocarbons and, in the long run, clogs or destroys itself. There are 2 situations in particular which are aggravating factors of use.
Short cold runs:
In these conditions, the oxygen sensor is not or is little activated and the engine’s combustion is much too rich, sending unburned hydrocarbons into the exhaust.
When this happens repeatedly, these operating phases quickly destroy the pot.
Acceleration under full load:
Engine acceleration is a phase of operation where the sensor is “unblocking”: the engine management computer no longer takes into account the information on the oxygen content of the exhaust gases, it over-enriches the engine to give it maximum power.
Even though oxygen sensor technology has improved and their action extended, here too an influx of hydrocarbons saturates the catalytic converter.
Good to know: the full charge or “kick down” position is the action of quickly depressing the accelerator pedal to the floor. This is recorded by the pedal sensor and leads to a rapid enrichment of the air-fuel mixture (necessary for rapid disengagement or overtaking).
Engine Malfunctions
Incomplete combustion or lack of combustion on a cylinder can lead to the same misdeeds.
This malfunction is usually due to:
– a defective ignition (coil, spark plugs, spark plug wires…);
– insufficient compression (worn segmentation, flanged valves…);
– a seized or leaking injector;
– a misalignment of the distribution;
– absorption of oil or coolant by the engine (cylinder head gasket, worn engine…).
Equipment needed to replace a clogged catalytic converter:
– Unclogged socket wrench
– Flat key
– Hexagon key
– Jack
– Freezing
– Clamping collar
– Vise
– Thick protective gloves
– Hammer
1. Identify the symptoms of a clogged catalytic converter
There are two indications that the catalytic converter is in a degraded state and that its replacement is irreversible.
The loss of engine power
That’s the main symptom. However, this loss can also be due to other factors (compression, injection, air filter), so its origin must be checked.
Temporarily disconnect the exhaust upstream of the catalytic converter.
If it is indeed the catalytic converter that is clogged, the engine instantly regains its full power.
Important: to limit noise pollution, the test must not be carried out on open roads and it must be very brief.
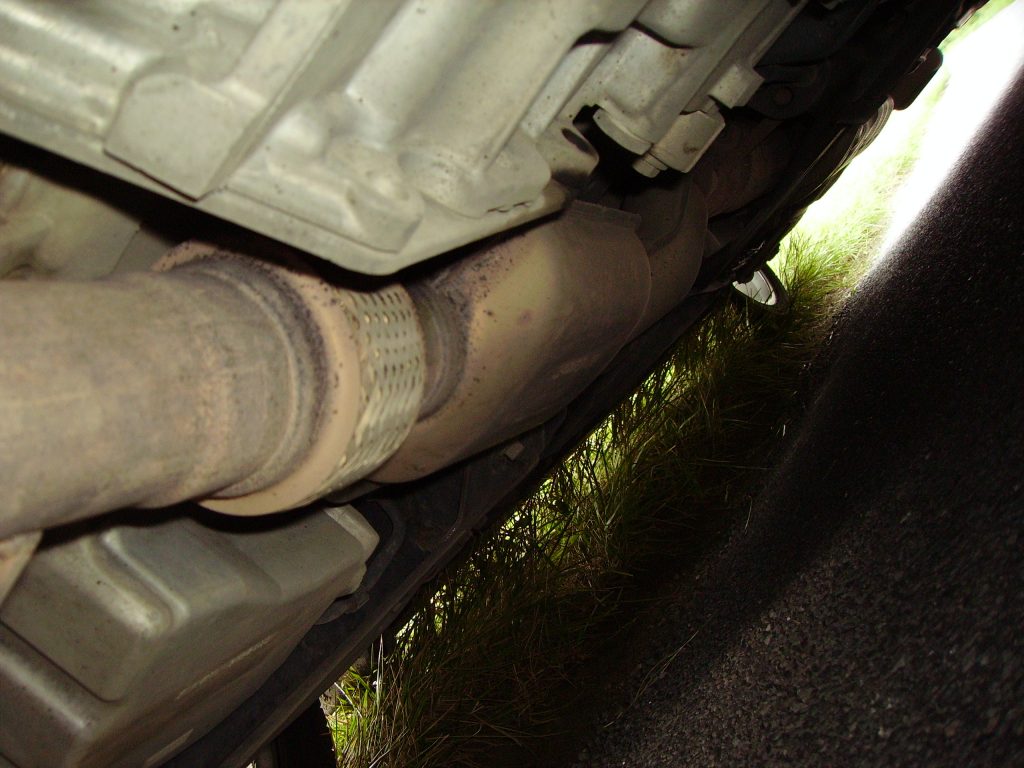
A loud noise from the engine’s muffler
The internal honeycomb structure has been destroyed and pieces of the honeycomb are colliding in the jar and clogging the ducts.
With the engine off, slide under the vehicle, and make a check
Strike the catalytic converter casing: you can hear the fragments moving around in the structure.
Important: If you lift the vehicle with a jack, use candles to hold the vehicle in place.
2. Proceed with temporary troubleshooting
To avoid immobilizing the vehicle while waiting for new parts, there is a temporary breakdown solution: the complete destruction of the honeycomb, keeping only the envelope of the jar, allows normal operation of the vehicle.
Good to know: there is the solution to cleaning the catalytic converter (if the internal honeycomb is intact), but the best option is often replacement.
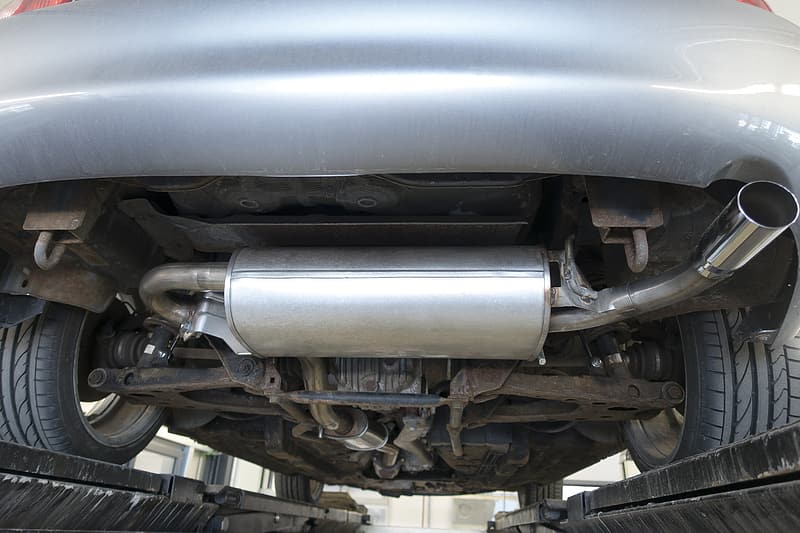
Lift the car to remove the catalytic converter.
Block the wheels on the side opposite to the lift.
Apply the handbrake and shift into gear.
Lift the vehicle at the lifting point with a jack.
Place safety candles to support the vehicle (leaving the jack in place).
Remove the catalytic converter
Generally speaking, this operation does not pose any particular difficulties, apart from the more or less problematic accessibility on certain car models.
Uncouple the catalytic converter at both ends.
Unhook the rubber retaining straps if they exist.
Remove the catalytic converter from the underside of the vehicle.
Important: wait until the engine has cooled down, otherwise you risk serious burns.
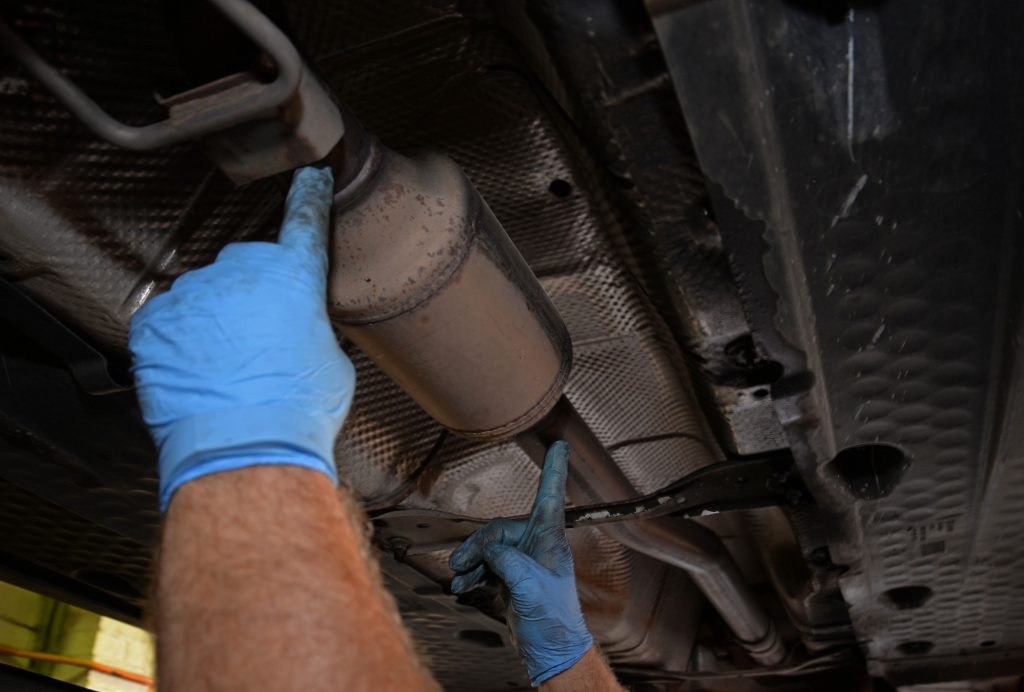
Unclog the catalytic converter
At the workbench, immobilize the catalytic converter in a vise.
Destroy the remaining honeycomb with a metal rod.
Remove all fragments from the jar.
Good to know: Avoid allowing pieces to accumulate in the rear part of the exhaust when reassembling it, as they will be a source of unwanted noise.
Shake the pot to check that there is no noise: no more particles should be present.
Replace the assembly
Repeat the operations in the opposite direction of the deposit.
Carry out a test drive of the vehicle to validate the operation.
Important: This is a temporary solution, install the new catalytic converter as soon as possible.
3. Replace the catalytic converter
Once the new part is in your hands, the replacement operation does not pose any particular difficulties, as long as you proceed methodically.
Important: If the destruction of the catalytic converter is due to an engine malfunction, repair the system before installing the new one.
Lift the vehicle
Proceed in the same way as in the previous step.
Block the vehicle and lift it with a jack.
Place safety candles to secure the car.
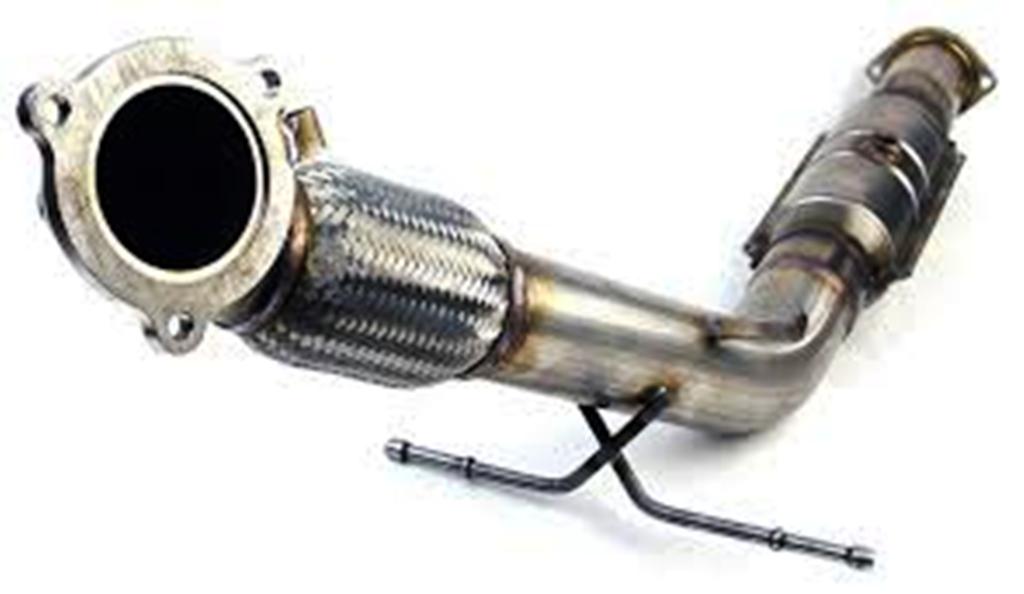
Replace the catalytic converter
If necessary, spray the screws and sockets with anti-seize agent.
Remove the used catalytic converter.
Insert the new catalytic converter.
Fit the catalytic converter by changing the seals and fasteners (clamps, screws, rubber straps, etc.).
Make sure the catalytic converter is correctly positioned: check that it is not in contact with the chassis.
Start the engine to check that it is tightly fitted to the other parts of the exhaust system.
Put the car back on the ground.
Carry out a test drive in order to validate the replacement of the catalytic converter.
Hope this post helps you out! If the car is still not functioning properly, you can take it to Xtreme Motor Works. They have a reputed team with 14 years of experience in auto repair and maintenance in Kissimmee.
Remember to leave your comments and share your experience with our readers.
