

Summary
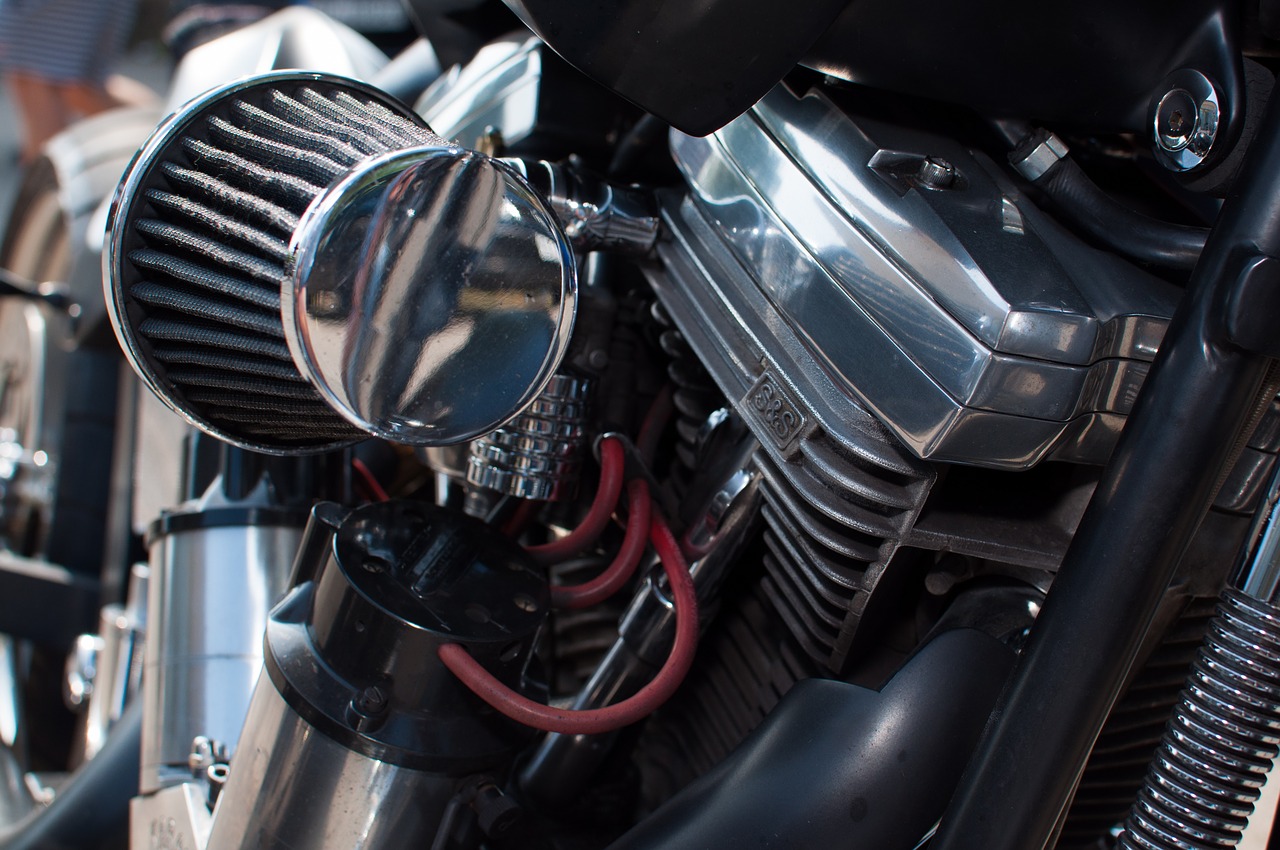
– The air filter of your motorcycle
– Step 1: Locate the filter position
– Step 2: Disassemble the different parts to reach the filter
– Step 3: Remove the filter and clean the airbox
– Step 4: Install the new filter and reassemble the elements.
The air filter plays an essential role since it retains dust and impurities loaded into the air, necessary for any combustion engine.
Placed before the combustion chamber, it clogs over time, which can increase fuel consumption or damage your engine. Here are the steps to replace it.
Your motorcycle’s air filter
When you buy your motorcycle, you will be given a guide with periodic tables.
– To maintain your manufacturer’s warranty, maintenance during the first two years will be done by a dealer.
– When your warranty expires, you can replace your filter yourself. It would help determine whether you respect the manufacturer’s frequency given by the manufacturer, depending on the region you ride.
Good to know: if you ride in the city, your air filter will clog much faster than if you ride in the country.
-
- To buy your air filter, go to a dealer if you want to buy a filter stamped “original parts” of the brand or on the Internet for adaptable models.
-
- Refer to the serial number of your vehicle and its production year when you purchase your filter (You can make changes from one year to the next).
1. Locate the position of the filter
On large motorcycles, the air filter is installed in an air box. It is often located under the tank or the seat behind the fuel system.
Refer to your owner’s manual, the vehicle’s technical review, or take a close look at your motorcycle without disassembling everything.
2. Dismantle the different parts to reach the filter
– Remove the saddle first. If the airbox is positioned underneath, go to step 3. Otherwise, remove any fairings (side or adjacent to the tank) that may interfere with emptying the tank.
– Remove the tank, paying attention to the different hoses and wires.
– Open the airbox with a screwdriver or the BTR wrenches according to the screws that close it.
3. Remove the filter and clean the airbox
– Remove the used filter.
– Place a cloth to prevent dirt or objects from falling into the engine.
– Clean the airbox and the airbox with a clean cloth, blower or vacuum cleaner.
– If your filter is made of foam (increasingly rare on modern motorcycles), and only in this case, you can wash it with water and dry it in a heated place without placing it directly on the heat source.
Good to know: don’t think that a simple cleaning by removing the dirt from a paper filter with the compressor or vacuum cleaner is enough. Its qualities deteriorate over time.
4. Place the new filter and reassemble the elements
– Remove the cloth.
– Insert the new filter, checking that it is correctly positioned. The gasket must not be pinched to ensure a perfect seal.
– Close the air box, again making sure that the gasket is in the correct position.
– Reassemble the different elements starting in the reverse order of disassembly.
– When reassembling the tank, position the hoses correctly to avoid pinching or leaks.
– Reassemble the fairings and saddle.
Materials for changing the air filter of your motorcycle
|
Tools |
Price |
|
Vacuum cleaner |
According to performance |
|
Recovery Cloth |
Rag |
|
Allen key |
Starting at $2 |
|
Air Filter |
Starting at $5 |
|
Phillips screwdriver |
Starting at $3 |
