

Summary
– Step 1: Test the battery charge
– Step 2: Test battery voltage
– Step 3: Check the colour of the caps
It can be useful to know how to test a battery. This test gives you information about its operating condition, its state of charge and also the condition of the alternator.
Testing a battery is, therefore, essential before you consider replacing it. If the problem is with the alternator, replacing the battery may not be necessary.
Here are the steps to properly test a battery and know if it is dead, recharge, or replace.
Caution: Remove rings, bracelets and any metal object that could cause a deadly short circuit if it comes in contact with the most and least of the battery!
Equipment needed to test a battery:
– Starter cables
– Multimeter
– Cross-headed screwdriver
1. Test the battery charge
Begin by removing all metallic objects (bracelets, rings, cuffs, etc.); otherwise, you will be exposed to a deadly short circuit.
To test the charge level of a battery, use a multimeter:
Select the multimeter’s voltmeter and DC mode (the symbol resembling the “=” sign and not the AC wave).
– Choose the 20 V position.
– Connect the red cable of the multimeter to the “+” terminal of the battery.
– Connect the black multimeter cable to the “-” terminal of the battery.
– Start the engine and accelerate to approximately 2000 rpm.
– The measured voltage must be greater than 13.2 Volt:
◦ If the voltage is higher than 15 V, the battery is overcharged, the voltage regulator is probably out of order.
◦ If the measured voltage is below 13.2 V, the problem is probably due to the alternator.
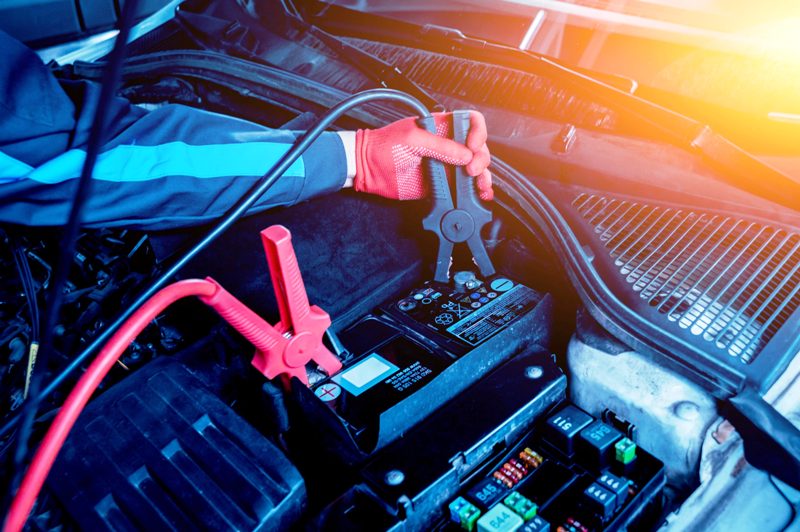
If your car does not start
Perform the same operation, but with the help of another vehicle:
– Park cars close to each other and head to head, but without touching each other.
– Leave the starter car on.
– Connect the black cable to the ” – ” of the service battery and then to the ” – ” of the battery to be serviced.
– Then, connect the red cable to the “+” of the service battery and then to the “+” of the battery to be serviced.
– Then start the car to be serviced.
– Drive for several minutes to recharge the battery.
Then perform the test using the multimeter as explained above.
Caution: Correct connection is essential! Reversing the battery can cause dangerous sparks.
2. Testing the battery voltage
Again, be sure to remove all metal objects (bracelets, rings, cuffs, etc.), or you may be exposed to a deadly short circuit.
For this test, your engine must be cold and stationary:
– Choose the voltmeter mode of the multimeter.
– Choose the 20 V position.
– Connect the red cable of the multimeter to the “+” terminal of the battery.
– Connect the black multimeter cable to the “-” battery terminal.
◦ If the measured voltage is 12.6 V, everything is normal; your battery is charged correctly.
◦ If the measured voltage is between approximately 12 and 12.3 V, your battery is discharged. Recharge it.
◦ If the measured voltage is more than 13 V, your battery is overcharged, and the problem is probably due to the charging circuit.
◦ If the measured voltage is around 10.6V, your battery is probably dead; it should be replaced.
Read more here: Changing a battery.
3. Check the colour of the caps
Battery caps are a good indicator of battery condition:
– Remove the plugs with a screwdriver.
– Check the colour of the plugs:
◦ If you see a black cap, a cell is short-circuited, and your battery is dead.
◦ If all caps are black, the battery is overcharged, and the problem is in the charging circuit.
◦ If the caps are still in their original colour, the battery is good but discharged.
Hope the above helps you out. Remember to share and comment below.
