Summary
– Step 1: Clean the car windows
– Step 2: Pre-cut your sun protection film
– Step 3: Thermoform the film
– Step 4: Apply the film on the inside of the windows
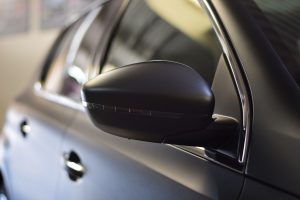
A solar film on car windows helps protect the passenger compartment from the sun – from its UV rays, which fade plastics, and from its heat – but also from prying eyes. In addition, tinted windows add style to the car.
However, before you start installing the solar film, you should know that since 1 January 2017, over-tinting windows has been prohibited by the Highway Code. The windscreen and front side windows must have sufficient transparency. This minimum transparency level is 70%.
Any operation likely to reduce the safety characteristics or transparency of the windows is prohibited. Failure to comply with the rules on window transparency constitutes an offence punishable by a fine.
With patience and attention to detail, you can fit your rear window and side windows with sun protection film yourself.
Here are the steps for fitting car sun protection film, packaged in rolls or pre-cut.
Materials needed to apply car sun protection film
– Tarpaulin
– Chiffon
– Cutter
– Thermal stripper
– Demineralized water
– Sponge
– Windshield washer fluid
– Measuring tape
– Plastic squeegee
– Liquid soap
1. Clean the car windows
The windows to which you wish to apply a sun protection film must be completely clean beforehand.
Good to know: No dust should remain on the windows, as it will form bubbles between the film and the glass.
– Place your car in a place sheltered from the wind to prevent dust from flying away.
– Protect the door trim and the rear parcel shelf with plastic to prevent possible dripping when washing and installing.
– Clean the inside and outside of the windows (side windows, rear windscreen) with windshield washer fluid and a soft cloth.
– Rinse with demineralized water.
2. Pre-cut your sun protection film
If you have chosen a roll of solar film, start by pre-cutting the pieces that will tint your various windows. Here are two ways to proceed.
Case 1: take measurements and cut
– Measure the size of the windows approximately.
– On a clean, flat work surface, cut the pieces from the roll according to the measurements taken, adding a margin of at least 2 cm.
Case 2: Mark the contours and cut out
– Place the film on the outside of the window and roughly mark the outline of the window with a round-tipped tool (so as not to mark the film too deeply).
– Cut out the piece with a cutter on the worktop, again adding a margin of a few centimetres around the trace.
Good to know: if you have ordered a thermoformed solar film, go straight to step 4, as it is already perfectly adapted to the dimensions and shapes of your windows.
3. Thermoform the film
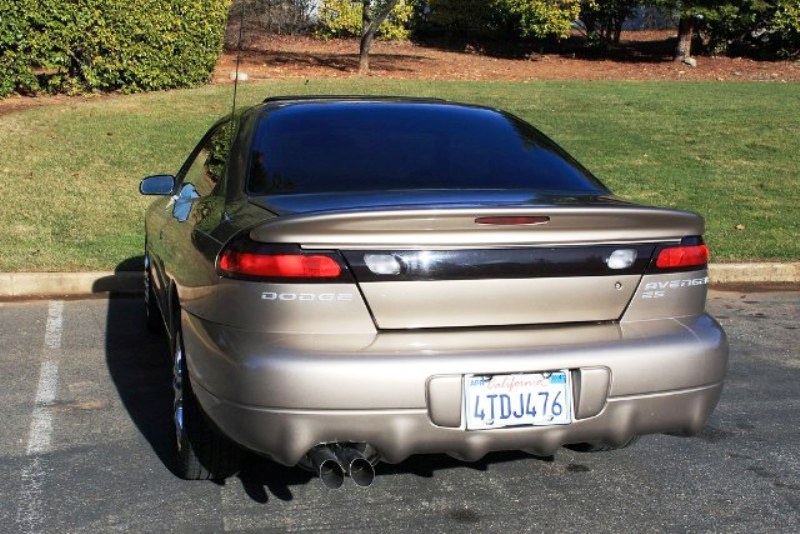
On curved parts (especially on the rear windshield), it is necessary to thermoform the film before laying it down to be able to apply it cleanly: the film is deformed under the heat of a thermal stripper so that it fits the shape of the glazing perfectly.
– Spray soapy water on the outside of the glass.
– Place your pre-cut film on the soaped pane, with the transparent protective film facing outwards.
– Place the film on the glass pane, pushing the air out with a squeegee from the centre to the sides.
Good to know: do not try to apply the entire film because at this stage it will fold. Just make a cross so that the film does not move.
– Pass the heat gun a few centimetres away from the film over the entire surface, always removing air bubbles with the squeegee.
Good to know: don’t get too close to the heat gun so that the film doesn’t melt.
– Cut the contours precisely with a cutter.
– Apply the film to the inside of the windows.
Once your film has been pre-cut and possibly thermoformed, all you have to do is apply it.
4. Place the film on the inside of the window
– Carefully remove the transparent protective film.
– Thoroughly wet the inside of the glass and the film with a spray bottle filled with soapy water.
Good to know: the soapy water allows the film to slide slightly to adjust its position.
– Place the film on the glass.
– Using a squeegee or sponge, squeeze out the water and air bubbles from the centre outwards without pressing.
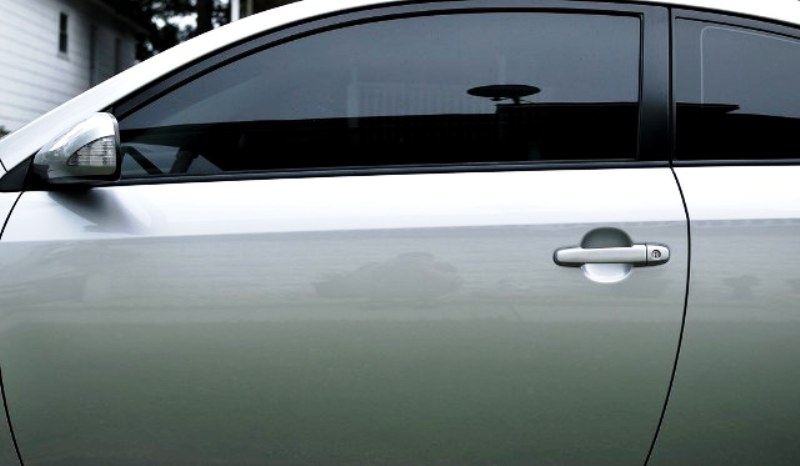
5. Cut the film on the side windows again

On the side windows, a few manipulations are necessary to cut the film precisely.
– Lower the window a few centimetres.
– Put the film down and blow out the bubbles.
– Cut out the sides of the film.
– Cut the top of the film 1 or 2 mm shorter than the top of the window, so as not to obstruct the opening.
– Close the window.
– Cut off the bottom of the film, making sure it fits into the window seal.
6. Allow drying
Leave the windows closed for 72 hours so that your installation is perfect and durable.
Good to know: follow the drying time indicated on the sun protection film instructions.
Hope the above tips help you to do your automotive/car tinting. You can follow the same method for your residential window tinting. You will have to be careful and patient, but like most of us, doing this task is often too difficult as most people end up with a mess and finally waste time and money. If you wish to call a professional in Ottawa, Vision Window Tint Etc. has got you covered.
Remember to share your experience with our readers in the comment section below!