Replacing the starter becomes necessary when there are signs that it is defective: it no longer works, permanently or occasionally, with or without clicking. Except for its accessibility, which can be problematic, replacing the starter is within reach of a good handyman, provided he follows a few instructions.
Here is a step-by-step guide to changing a starter motor
What is a starter motor?
The starter is an auxiliary electric motor powered by the battery: its role is to drive the car engine at an average speed of 300 rpm, allowing it to start.
It consists of three parts.
1. The electric motor
A battery powers the motor.
It is connected by a large diameter cable (from 16 to 35 mm²).
The cable section corresponds to the diameter of the circular surface.
2. The solenoid
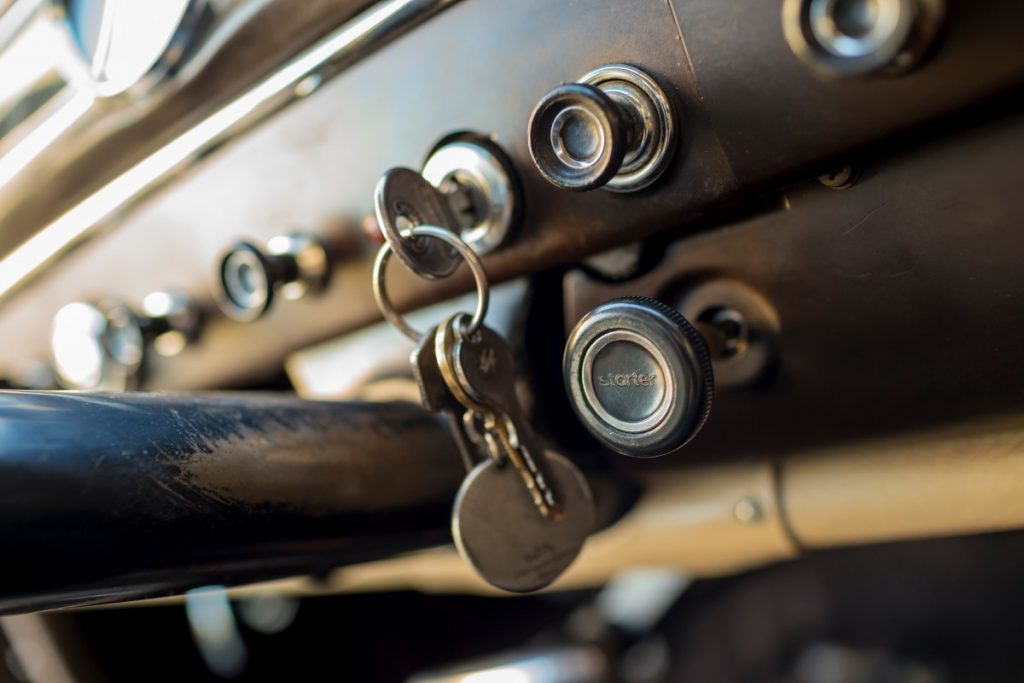
The solenoid is a large relay attached to the body of the starter. It is an electrical switch between the battery and the starter and is controlled by the ignition key in the “start” position.
It, therefore, has two connections :
the battery cable ;
and a thinner wire (between 2 and 3.5 mm²) coming from the key switch.
3. A mechanical system
The solenoid activates this system.
It allows the starter pinion to mesh with the teeth of the flywheel to drive it.
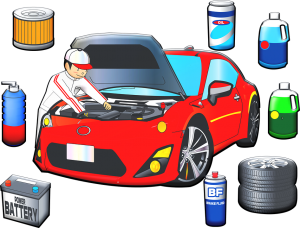
Here are the materials needed to change a starter:
- Cloth
- Allen wrench
- Tightening wrench
- Flat wrench
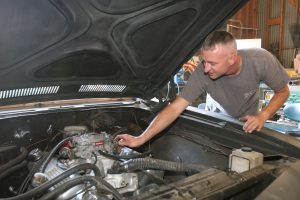
Step 1: Locate the Starter
The starter is always located near the flywheel, i.e. at the junction of the engine and the gearbox.
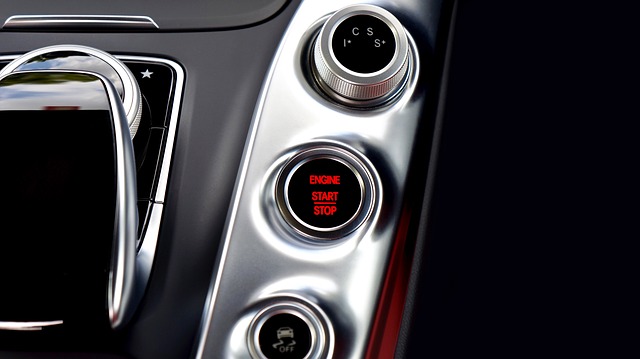
There are a few exceptions with some Stop and Start systems where starting is done with a starter-alternator, located where the traditional alternator is.
The Stop and Start system allows the engine to be stopped and restarted without the driver’s intervention under certain conditions when the vehicle is idling (stop at a traffic light, traffic jams, etc.). The Stop and Start system aims to save fuel and reduce pollution.
Step 2: Remove the starter motor
- Perform prior disassembly if necessary.
- Start by consulting the technical journal dedicated to your car, where all removal and installation operations are detailed.
Technical magazines are available in car parts stores, in-car centres or on the Internet.
Depending on the vehicle, access to the starter is more or less complicated. This may require additional disassembly and the use of a lifting crane.
Proceed to the removal of the starter
Disconnect the battery:
- Disconnect one of the two battery terminals;
- Insulate this terminal by covering it with a cloth, for example.
Important: Disconnecting the battery is the first operation to be performed.
Disconnect the electrical connections on the solenoid:
- disconnect the battery cable by unscrewing the retaining nut with a wrench (usually a 13 mm open-end wrench);
- Do the same for the starter control wire; usually unscrew a nut with a size 8 twist.
Good to know: sometimes it is a snap-on electrical connector.
If it exists, remove the rear support that consolidates the starter against the engine block.
Remove the 3 fasteners of the starter nose (partly fixed on the gearbox side) with a 13, 16 or 17 key.
- Remove the starter from the engine.
Step 3: Replace the rebuilt or new starter
Once the starter has been refurbished or replaced with a “standard exchange” part, proceed with re-installation by following the reverse procedure for removal.
Good to know: check the compatibility of the new starter with your car model.
Position the starter using the centring sleeve
- Make sure the starter has a centring sleeve on one of its mounts.
Good to know: A new starter often comes with a new sleeve.
- Check that the old sleeve has not remained in place on the gearbox.
- Place the starter with the help of the centring sleeve and secure it.
Important: Incorrect positioning of the starter may result in its destruction!
- Reconnect the starter
- Reconnect in reverse order of removal.
- Check that the battery cable is correctly positioned on the starter without contacting the casing.
- Also, check the routing of this cable: there should be no contact with sharp metal sheets or the exhaust pipe, for example.
Step 4: Test the starter
- Reconnect the battery.
- Turn the ignition key briefly: the engine should not stall.
- Start the vehicle again.
If the engine sounds normal, the replacement is successful.
However, if a persistent hissing sound accompanies it, the starter may still be engaged. In this case, you should:
- Check the position of the starter;
- Check that it is compatible with the vehicle.
Hope this post helps you change your starter. The following post will cover How to Test a Starter. Stay posted, and remember to write a few words below.