
Summary
– Role of car valves
– Step 1: Prepare your vehicle
– Step 2: Case 1: Check valve lash with an overhead camshaft
– Step 2: Case 2: Check the valve clearance using a screw and lock nut system
– Step 3: Case 1: Adjust the valves with pads
– Step 3: Case 2: Change the valves using screw and lock nut
– Step 4: Reassemble the valve
Electronic management optimizes modern vehicles’ tuning, and this is no easy task: there is no longer any ignition or carburetion adjustment possible. Apart from modifying the mapping, which is not within everyone’s reach, few other means are left.
Only valve adjustment, when a hydraulic lash adjuster does not manage it, is still possible. This optimized adjustment allows better starts, increased engine compression, improved efficiency, reduced fuel consumption and pollution impact.
Here is step by step how to adjust the valves of a car.
Role of car valves
The internal combustion engine always operates according to the same principle. To carry out the combustion of air and fuel, for each cylinder, it uses the reciprocating translation movement of a piston, which takes place in 4 phases as follows:
– 1st phase: the piston moves down and draws the carburetted mixture from the intake system into the combustion chamber.
– 2nd phase: the piston moves up and compresses the fresh gases in the combustion chamber.
– 3rd phase: combustion occurs, and its pressure force pushes the piston down. It is the engine stroke that moves the car forward.
– 4th phase: the piston moves up and evacuates the burnt gases in the exhaust.
Two types of engines coexist according to this principle:
– The 2-stroke engine (2-stroke cycle):
◦ In 1 engine revolution, it performs all 4 phases.
◦ As the piston moves, it uncovers or closes passages in the cylinder (intake and exhaust ports), allowing the intake of fresh gases and the evacuation of burnt gases.
– The 4-stroke engine (4-stroke cycle):
◦ The complete cycle takes 2 engine revolutions (i.e. 4 piston strokes).
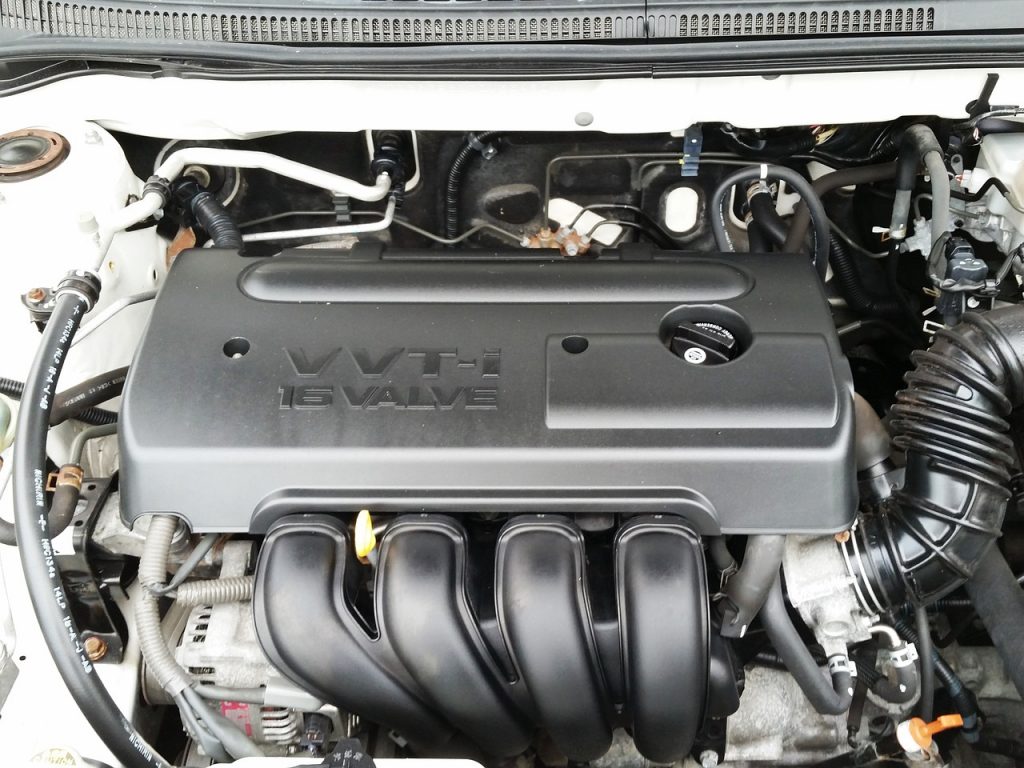
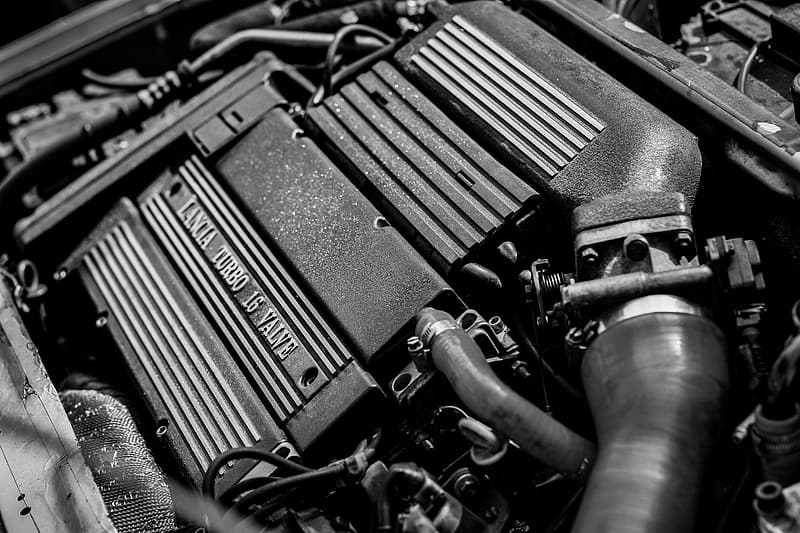
◦ These are then elements specific to the 4-stroke engine, the intake and exhaust valves, mechanically actuated by a camshaft, which allows the opening and closing of the intake and exhaust ducts.
Valves are, therefore, only present in 4-stroke engines, which almost exclusively equip our modern cars.
Valve operation
A rotating camshaft indirectly actuates the valves. Therefore, there are always intermediate parts between the camshaft and the valves.
Operating clearance is necessary because the valve expands when the engine is hot.
Good to know: Without this available clearance, the valve would not be hot-tight and would lead to serious engine malfunctions.
The different types of valve adjustment:
– Adjustment by screw and locknut:
◦ A rocker arm, an intermediate part between the valve stem and the camshaft, has a lash adjustment screw and a lock nut.
◦ Backlash is measured using a set of shims made up of calibrated metal blades.
– Adjustment using a pad:
◦ The camshaft presses on a tappet, which transmits the movement to the valve.
◦ The clearance between the tappet and the camshaft is provided by a calibrated washer (the pad) placed either on or under the tappet. The clearance is adjusted by replacing the disc.
Important: If the disc is located under the tappet, the timing gear (belt or chain) and the camshaft must be removed. These operations require professional expertise; in this case, entrust your car to a professional.
– Hydraulic tappets:
◦ The tappets are equipped with a flap fed by oil pressure, which allows a constant valve clearance.
◦ In this case, valve adjustment is automatic; there is no more manual adjustment.
This post will now continue in part 2 in our next publication. Stay posted, and remember to leave your comments below.


3 thoughts on “How to Adjust Car Valves (Part 1)”