
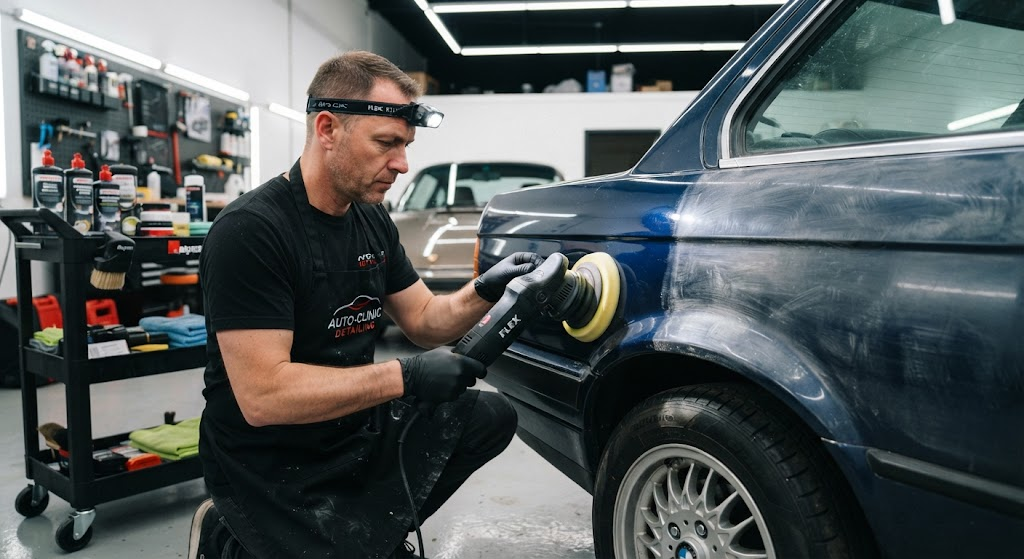
Every car enthusiast understands the pride that accompanies a vehicle with a pristine paint job. However, daily driving, environmental factors, and routine maintenance can take a toll, leading to dull, oxidized finishes. Fortunately, there are effective methods for correcting the paint and revitalizing the vehicle’s aesthetics, helping it regain its former glory.
Understanding Dull or Oxidized Car Paint
To effectively address car paint correction, it’s essential to understand the nature of dull or oxidized paint. When paint becomes dull, it often indicates issues like oxidation, contamination, or damage from environmental elements.
Oxidation occurs when the paint’s protective clear coat begins to break down, resulting in a chalky, faded appearance. This process is accelerated by factors such as UV exposure, acid rain, and pollution. Understanding these factors not only helps in restoration efforts but also informs preventative measures.
Identifying the Symptoms of Paint Damage
Before diving into solutions, it’s crucial to accurately assess the vehicle’s paint condition. Take note of signs indicating that the paint may need correction, which can include:
- Dull Appearance: A lack of shine can signify the depletion of the clear coat’s protective elements.
- Rough Texture: If the surface feels rough to the touch, it may be contaminated with embedded pollutants.
- Visible Swirls or Scratches: These imperfections can often be enhanced through polishing.
By identifying these symptoms, vehicle owners can prioritize which restoration techniques are most appropriately tailored to their needs.
Assessing the Paint Condition
Once the symptoms of dullness and oxidation are identified, it’s time to assess the paint condition thoroughly. Consider the extent of damage present:
Light vs. Heavy Oxidation
Understanding the severity of oxidation is imperative:
- Light Oxidation: Often visible as minor haziness or dull areas, this type typically requires a gentle polish.
- Severe Oxidation: If the paint appears chalky or has large areas of damage, a more aggressive compound may be necessary.
For accurate assessment, it is beneficial to conduct a fingernail scratch test on noticeable marks. If your nail catches on the scratch, it’s a sign that the defect is too deep for standard polishing tools.
Choosing the Right Tools and Products
Selecting the appropriate products and tools is vital to achieving successful paint correction. Various options exist depending on the severity of oxidation and the desired finish:
Categories of Restoration Products
These categories include:
- Compounds: Abrasive and effective for removing deeper scratches and severe oxidation.
- Polishes: Finer abrasives meant for light swirls and enhancing gloss.
- Waxes and Sealants: These provide a protective layer but do not correct paint defects.
- Clay Bars: Essential for decontaminating the surface before correction.
By choosing the right combination of these products, vehicle owners can ensure a comprehensive and effective restoration process.
Implementing a Step-by-Step Correction Process
The process of correcting dull or oxidized paint involves a careful approach that emphasizes washing, decontaminating, and correcting.
Step 1: Thoroughly Wash the Vehicle
Start by washing the car meticulously to remove any loose dirt and debris:
- Use a pH-balanced car shampoo to avoid stripping the clear coat.
- Rinse thoroughly from top to bottom.
- Dry the surface with a microfiber towel to avoid any water spots.
Step 2: Decontaminate the Paint
Following the wash, decontamination is essential for optimal results. Employ a clay bar to remove bonded contaminants such as tree sap or industrial fallout. This step will smooth the surface and prepare it for correction.
Step 3: Correct the Paint Using Compound or Polish
Now that the surface is clean and smooth, begin the correction process. Use the appropriate compound for severe oxidation or a polish for lighter imperfections. Apply the product either by hand or with a dual-action polisher, making sure to work in small sections and follow up with a microfiber towel for a clean finish.
Finalizing the Restoration with Protection
After achieving the desired level of correction, it is critical to apply a protective layer. This not only enhances the shine but also safeguards the paint from future damage:
Choosing the Right Protection Method
Consider the following options:
- Waxes: Great for a warm shine, but require reapplication more frequently.
- Synthetic Sealants: Offer longer-lasting protection and resistance to elements.
- Ceramic Coatings: Provide superior, long-term durability and water repellency.
A well-chosen protective layer will maintain the vehicle’s finish and extend the time between restoration sessions.
Conclusion: Mastering the Art of Paint Correction
Successful paint correction involves understanding the condition of your vehicle’s surface, choosing the right products, and implementing an effective restoration process. With the help of a paint correction expert, every car owner can achieve a stunning, glossy finish that not only looks appealing but also helps protect the car’s value for years to come.


