Hey there, fellow car and vehicle enthusiasts! Today, we’re delving into the nitty-gritty world of EGR (Exhaust Gas Recirculation) valve cleaning. If you’re the type who loves tinkering with your vehicle, enhancing its performance, and ensuring it runs smoothly, then this article is for you. The EGR valve is a crucial component that, when clogged or dirty, can affect your vehicle’s performance. So, grab your tools, put on your work gloves, and let’s master the art of cleaning an EGR valve to keep your beloved vehicle in top shape.
The EGR Valve Demystified: What Does It Do?
Before we dive into cleaning, let’s understand the role of the EGR valve. It’s an emissions control device that recirculates a portion of exhaust gases back into the engine’s intake manifold. This process helps reduce harmful nitrogen oxide emissions and can improve fuel efficiency.
Signs of a Dirty EGR Valve: When to Clean
There are several signs that your EGR valve may need cleaning. These include poor idling, reduced fuel efficiency, and increased emissions. If you notice any of these symptoms, it’s time to roll up your sleeves and give your EGR valve some TLC.
Gathering Your Tools: What You’ll Need
Cleaning your EGR valve doesn’t require an entire auto shop. In fact, you’ll need just a few simple tools and some cleaning supplies. These typically include a wrench or socket set, a cleaning solution, a gasket scraper, and a new gasket (in case yours gets damaged during removal).
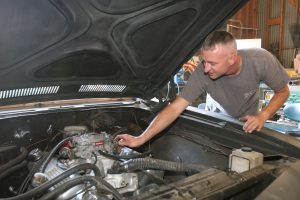
Locating the EGR Valve: Under the Hood
The EGR valve is typically located near the intake manifold on your engine. Consult your vehicle’s manual or look for online resources specific to your make and model to pinpoint its exact location.
The Cleaning Process: Step by Step
Now, let’s get to the heart of the matter – cleaning your EGR valve. We’ll take you through a step-by-step process to ensure you do it right.
Step 1: Safety First
Before you start, ensure the engine is cool. This prevents any accidental burns or injuries. Safety glasses and gloves are also recommended.
Step 2: Disconnect the Battery
For safety reasons, disconnect the vehicle’s battery. This prevents any electrical mishaps during the cleaning process.
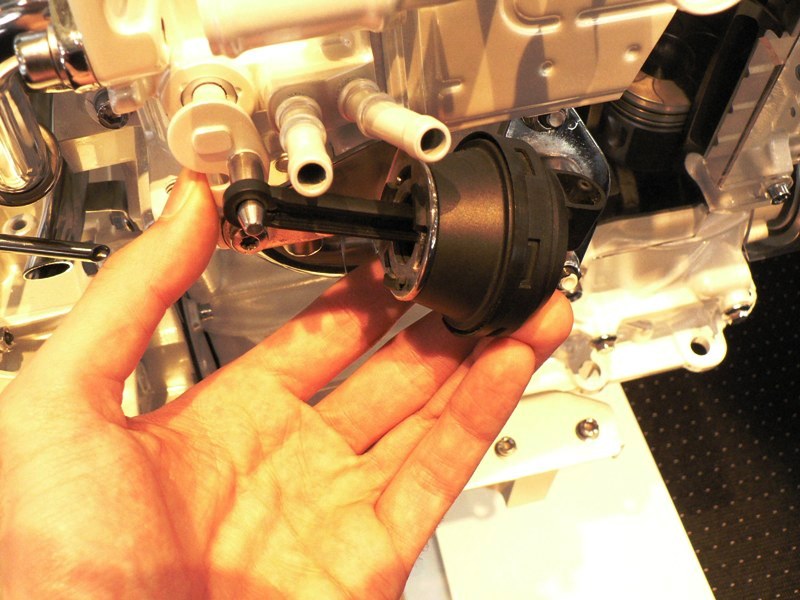
Step 3: Remove the EGR Valve
Use your wrench or socket set to remove the bolts securing the EGR valve. Carefully disconnect any hoses or electrical connections as well. Be sure to keep track of where each bolt and connection goes for reassembly.
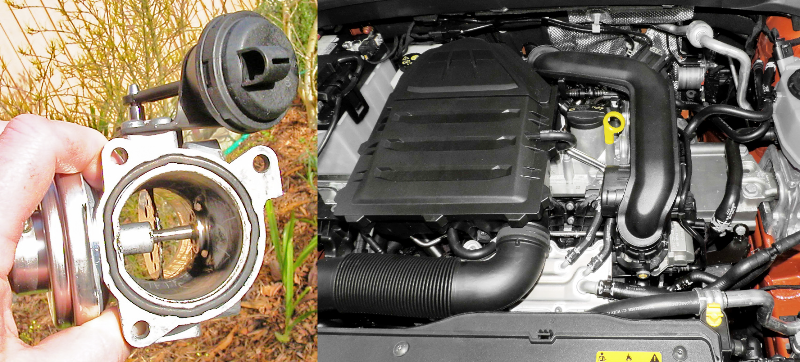
Step 4: Inspect and Clean the Valve
Once the EGR valve is removed, inspect it for carbon buildup and clogs. Use your gasket scraper and cleaning solution to carefully clean the valve and its passages. Take your time to ensure it’s thoroughly clean.
Step 5: Reassembly
After cleaning, it’s time to reassemble the EGR valve. Make sure to use a new gasket if the old one is damaged. Reconnect hoses, electrical connections, and secure the valve with the bolts.
Step 6: Reconnect the Battery
With the EGR valve back in place, it’s time to reconnect the vehicle’s battery.
Testing and Emission Check: The Final Steps
Once everything is back in place, start your vehicle and let it idle. This allows the EGR valve to go through its cycles. Afterward, take your vehicle for an emissions test to ensure it’s operating efficiently.
Mastering EGR Valve Cleaning
Cleaning your EGR valve is a hands-on task that can improve your vehicle’s performance and reduce harmful emissions. By following these steps and being thorough in your cleaning process, you’ll keep your beloved vehicle running smoothly and efficiently. So, here’s to mastering the art of EGR valve cleaning and enjoying the benefits it brings to your automotive adventures!