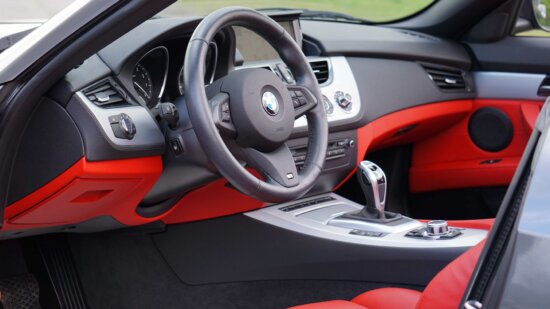
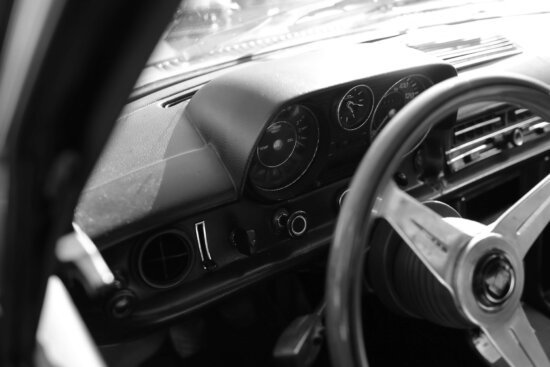
Your vehicle’s dashboard is not just a functional component; it’s also a part of your vehicle’s aesthetic appeal. Whether you’re a city commuter or a highway enthusiast, those unsightly marks on your dashboard can be a real eyesore. Fear not; we’ve got your solution.
Essential Tools for Dashboard Restoration
Before you embark on this journey to restore your dashboard, make sure you have the necessary tools at hand:
The Essentials
- Microfiber cloth
- Mild soap
- Water
- Non-abrasive toothpaste
- Plastic polish or wax
- Soft brush
- Dashboard protectant
Step 1: Preparing Your Dashboard for Restoration
The first step in restoring your dashboard is to prepare it for the treatment. Dust and dirt can magnify the appearance of scratches. Here’s what you need to do:
Cleaning Process
- Use a microfiber cloth dampened with a mixture of mild soap and water.
- Gently wipe down your dashboard to remove dirt and grime that have settled on its surface.
Step 2: The Magic of Toothpaste
Toothpaste can work wonders in minimizing scratches and scuffs on your dashboard, provided it’s the non-abrasive variety. Here’s how to use it:
Scratch Removal
- Apply a small amount of non-abrasive toothpaste to a microfiber cloth.
- Gently rub the toothpaste in a circular motion over the scratches until they begin to fade.
- Wipe away the toothpaste residue with a clean cloth.
Step 3: Polish for a Shiny Finish
For a more polished and refreshed look, consider using a plastic polish or wax. This will give your dashboard a shiny, rejuvenated appearance.
Polishing Procedure
- Apply a small amount of plastic polish or wax to a clean cloth.
- Follow the product instructions to apply it to your dashboard.
- Buff the dashboard until it attains a glossy finish that makes it look as good as new.
Step 4: Tackling Stubborn Scuffs
If you’re dealing with deep or stubborn scratches, a soft brush can come in handy, particularly for textured dashboards. Here’s what you need to do:
Brush It Off
- Gently brush the scratched area with a soft brush, taking care not to damage the texture.
- Wipe away any loosened debris with a microfiber cloth.
Step 5: Dashboard Protectant for Longevity
Maintain the pristine appearance of your dashboard by using a dashboard protectant. This protective layer helps prevent future scratches and preserves the dashboard’s shine.
Protection Application
- Apply a small amount of dashboard protectant to a cloth.
- Apply it evenly to the dashboard, ensuring full coverage.
Step 6: Preventive Measures for a Lasting Shine
To keep your dashboard looking its best for the long haul, consider these preventive tips:
Prevent Scratches
- Avoid placing heavy objects on your dashboard, as they can lead to dents and damage.
- Use a sunshade when parking your vehicle to shield your dashboard from UV rays, which can cause fading.
- Regularly clean your dashboard to prevent the buildup of dirt and dust.
Wrapping Up: A Dashboard Revived
Your dashboard has now been transformed, and it looks refreshed, free of scratches and scuffs. It’s remarkable how a few straightforward techniques can yield such significant improvements. By taking good care of your dashboard, you ensure that it remains an essential element of your vehicle’s interior, providing comfort and aesthetic appeal.
Whether you’re cruising on the open road or navigating through urban streets, your dashboard will remain a source of pride. Keep your vehicle’s interior clean and preserve its beauty with these simple restoration and maintenance tips. Enjoy your ride with a dashboard that looks as good as new!