Hey there, fellow car enthusiasts! If you’ve ever wondered what goes into changing your car’s oil or want to learn how to do it yourself, you’re in the right place. In this guide, we’ll walk you through the step-by-step process of changing your car’s oil. By the end, you’ll have a better understanding of this essential car maintenance procedure and the confidence to tackle it yourself or communicate effectively with your mechanic.
1. Gather Your Tools and Materials
Before we get our hands dirty, let’s make sure we have everything we need for a successful oil change:
- A wrench or socket set to remove the drain plug;
- An oil filter wrench to remove the old oil filter;
- A new oil filter;
- The appropriate amount and type of motor oil for your vehicle (check your owner’s manual for specifications);
- An oil drain pan to catch the old oil;
- A funnel to pour the new oil;
- Gloves and safety goggles to protect your hands and eyes;
- Rags or paper towels to clean up any spills.
Now that we’re all set, let’s move on to the next step.
2. Prepare Your Car
Park your car on a level surface and engage the parking brake. Make sure the engine is cool before you start the oil change. Pop the hood and locate the oil filler cap, usually labeled “oil” or “engine oil.” Loosen the cap but don’t remove it completely. This step helps the oil flow more smoothly during the draining process.
3. Drain the Old Oil
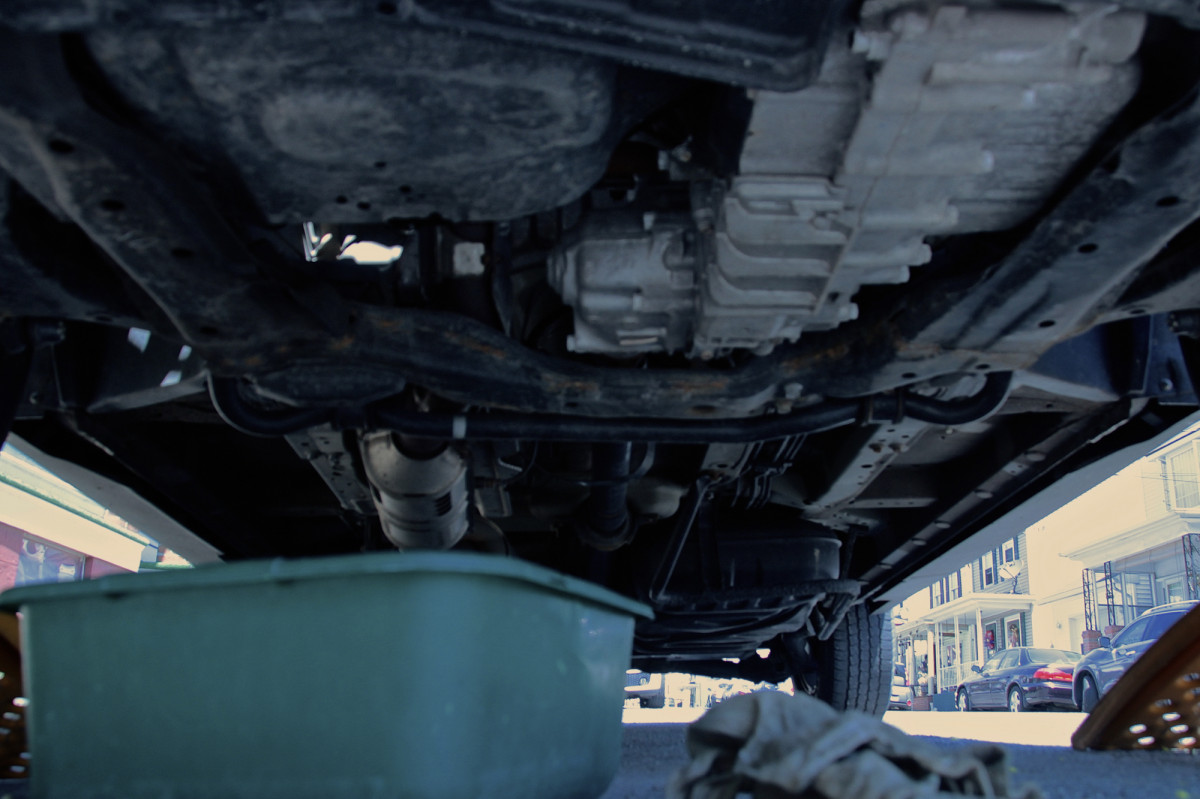
Position the oil drain pan under the car’s oil drain plug, typically located on the bottom of the engine’s oil pan. Use the wrench or socket set to loosen the drain plug. Once loosened, carefully remove the plug and let the old oil flow into the drain pan. Be cautious; the oil may still be hot.
While the oil is draining, inspect the drain plug for any signs of damage or wear. If you notice any issues, consider replacing the drain plug or consulting a mechanic for further evaluation.
4. Replace the Oil Filter
Locate the oil filter, which is often near the oil pan. Use the oil filter wrench to remove the old oil filter. Be prepared for some residual oil to spill during this step. Before installing the new oil filter, dab a bit of fresh oil on the rubber gasket to create a better seal.
Hand-tighten the new oil filter into place, being careful not to overtighten it. Refer to the filter’s packaging or your vehicle’s manual for the correct torque specifications if needed.
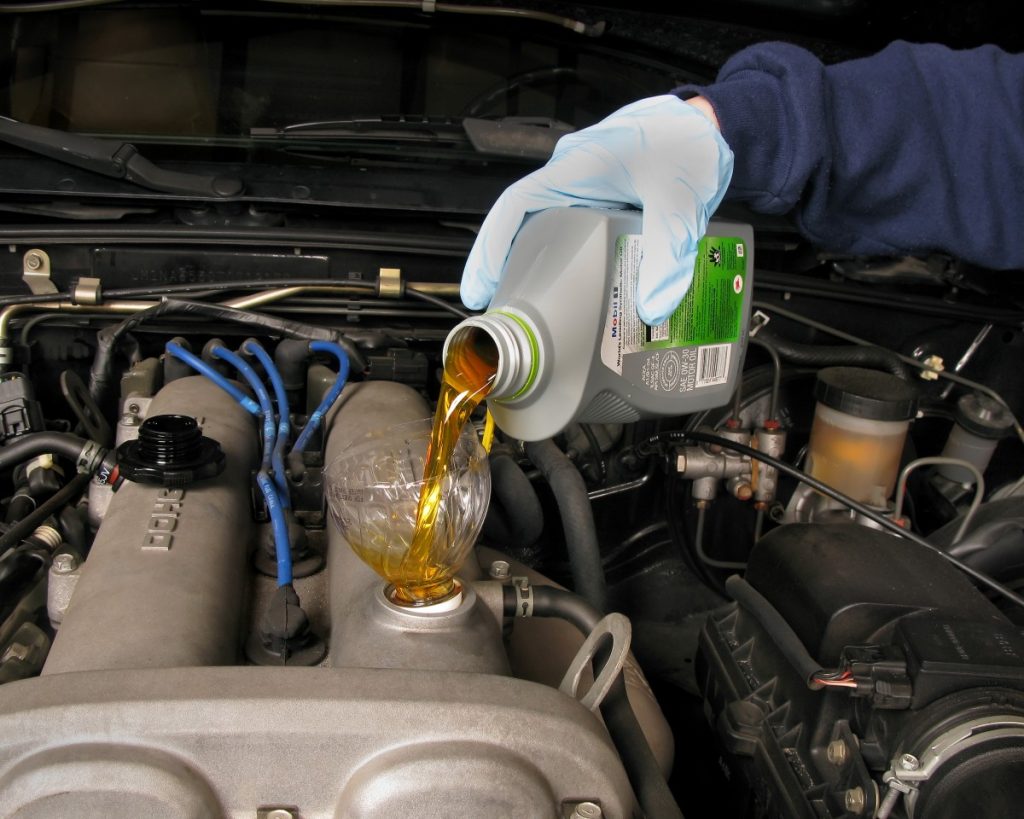
5. Add Fresh Oil
With the old oil drained and the new oil filter in place, it’s time to add fresh oil. Double-check your vehicle’s owner’s manual for the right type and amount of oil. Use the funnel to pour the new oil into the oil filler hole.
Once you’ve poured in the recommended amount of oil, replace the oil filler cap securely. Take a moment to wipe any spilled oil around the oil filler hole with a clean rag.
6. Check Oil Level and Inspect for Leaks
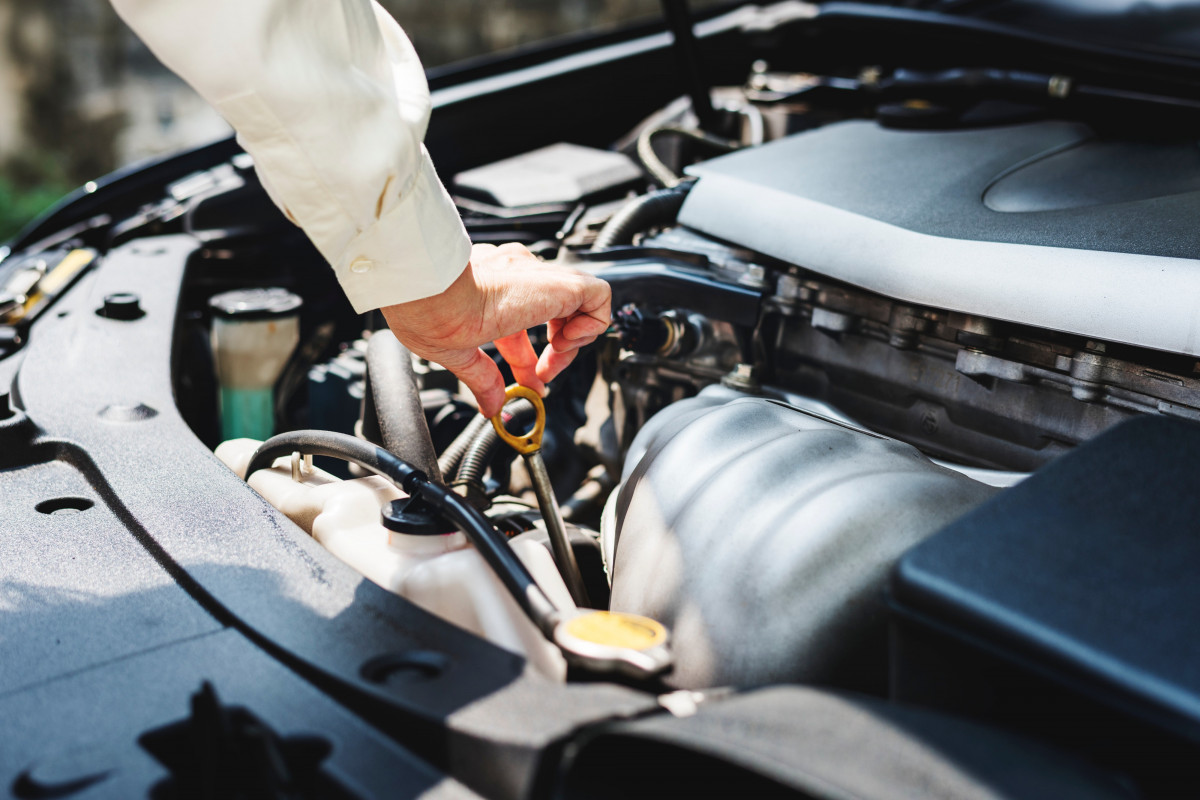
Start your car and let it run for a few minutes. This allows the fresh oil to circulate throughout the engine. Turn off the engine and wait a few minutes for the oil to settle back into the oil pan.
Remove the oil dipstick, wipe it clean with a rag, and then reinsert it fully. Pull it out again and check the oil level. It should be within the recommended range on the dipstick. If necessary, add more oil until you reach the appropriate level.
After completing the oil change, inspect the drain plug and oil filter for any signs of leaks. Tighten them as needed to prevent oil seepage.
Congratulations, you’ve successfully changed your car’s oil! Following this step-by-step guide, you now have a better understanding of the oil change process and the satisfaction of performing a vital car maintenance task. Regularly changing your car’s oil is crucial for a smooth-running engine and prolonging the life of your vehicle. Whether you decide to do it yourself or entrust a professional, you’re now equipped with valuable knowledge to keep your car running smoothly for miles to come. Safe driving!