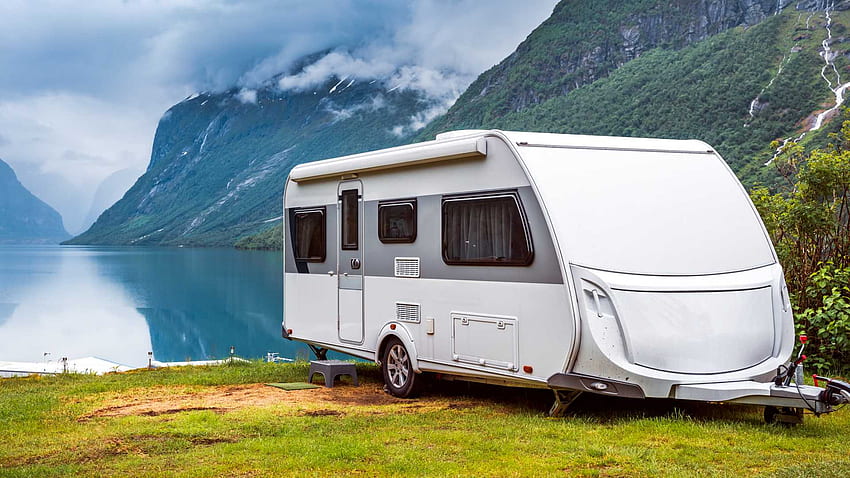
Water damage can wreak havoc on your caravan, causing mould and wood rot to form. As most caravans spend much of the year in storage, you may not discover flood damage until long after it has occurred. Although there are several steps to repairing your caravan, remember that these repairs usually take more time than money.
sex toys for sale
nfl store
nike air max 270 sale
wigs for women
team uniforms
nike air max shoes
adidas factory outlet
nike air max sale
best sex toys
cheap wigs
How serious is the damage?
The answer to this question depends on how much time and money you are willing to spend on a repair project. Replacing entire floors or walls rather than repairing isolated areas of a leaking caravan is not desirable. The best way to determine whether or not a water damage repair is worthwhile is to determine the source of the damage. If the water came from an easily identifiable source, there would be fewer surprises during repairs.
For example, a faulty drainpipe can cause a lot of damage to floors and appliance compartments. However, it is a relatively easy project if you can repair the source and the water has not spread too far. The same is true if only one component is leaking, for example, the seal around a particular window. The project can be more manageable as long as an entire roof or wall has not gone soft and rotted. Suppose you discover that the support beams have become rotten and mouldy, affecting non-organic components such as polystyrene under the floors. In that case, you can expect a much more laborious repair process.
Before the caravan restoration project, all mould-infested components must be cleaned or removed and all joints replaced to make them watertight. This process will be discussed in more detail in the second part of this post.
Steps to repair a leaking caravan
1. Locate and repair the source of the water
Before you can start cleaning and repairing your caravan, you need to determine how it got flooded in the first place. A roof leak is the most likely source, so caulking and resealing the roof is the most common solution. Repair holes and leaks in other areas in the same way. Sometimes flood water may have brought dirt and debris with it. Sweep, mop or scrape up as much as possible before undertaking more extensive repairs.
2. Remove damaged floors, ceilings and walls
Carefully examine all parts of the caravan for water damage. Wherever you can see water stains or feel a soft spot, remove wallpaper, panelling and flooring to access the wood underneath. Remove wood that has started to rot and remove wet insulation. It is essential to do a thorough job, as leaving even a tiny amount of rotting wood will damage the structure of your caravan. Keep a small wallpaper or flooring to match the patterns if you are not replacing parts.
3. Disinfect all surfaces
Spray all surfaces of your caravan with a bleach solution to disinfect them. Scrub thoroughly to remove any mould or mildew growth. Disinfecting subfloors and panels you do not plan to replace will help prevent the growth of mould and mildew in the future.
4. Ventilate the caravan until it is scorched
While you may feel the urge to rush through the project and restore your caravan to its former glory, you must allow it to dry completely before moving on to the next step. Never lay new wood, parquet, panelling or wallpaper on a wet surface. Allow your caravan to dry for at least a few weeks. Ideally, you should leave your caravan to dry for three months in warm, dry weather with open windows.
5. Replace damaged areas
Replace the wood you had to remove from your caravan frame. Match the new panelling to the other panelling on the walls and use matching wallpaper to cover the areas you had to repair evenly. Align your flooring with the existing tiles, or replace the entire floor if the damage is extensive or you cannot match the pattern. Carefully replace any items that you had to remove during the repair.
Although flood damage may keep your caravan from being used for some time, you can deal with most damage with inexpensive supplies and simple DIY projects. With proper care, you can get your caravan back in perfect condition.