
Contents
– Focus on the motorcycle battery
– Step 1: Access the battery
– Step 2: Remove the battery
– Step 3: Clean the terminals
– Step 4: Use a booster
– Step 5: Recondition your battery
– Step 6: Check the voltage
The battery stores and redistributes the electricity supplied by the alternator, which is necessary for your motorcycle to start, and also to operate all the elements consuming electricity, such as lighting and electronics.
Sensitive to wear and tear and to the cold, it should be preserved, recharged if necessary, and sometimes replaced. Your battery may be discharged, worn out, or out of order.
Here is how to maintain your battery.
Focus on the motorcycle battery
Two types of batteries are generally used on motorcycles. Maintenance and maintenance-free are the main characteristics that differentiate them, but it should be noted that the first type of battery is becoming increasingly rare. They are transparent; two indicators (minimum and maximum) allow you to check the level (see below). For maintenance-free batteries, as the name suggests, there is little or nothing to do. Being sealed, only the intervention of a specific battery charger with a maintenance function can increase its life.
If there are several types of batteries, the functioning and the constitution are equivalent. The battery must deliver volts and amperes.
– The voltage is used for lighting, an alarm, etc.
– The amperes are used for starting.
The capacity of a battery is thus expressed in ampere-hours. For example, for 12 Ah, the battery can deliver 12 amps in one hour.
There are three problems related to charging, and they are not irreparable:
1. Sulfation: Letting a battery discharge creates lead sulfate crystals that accumulate on the plates. Because of this layer on the lead plates, the battery loses efficiency.
2. Stratification: When a (calcium) battery is discharged by half, layers are created inside the battery with acid on one side and water on the other.
3. Desiccation: if you ever charge your battery with a higher voltage than its own, it goes into overload and sees its water evaporate. As a result, the plates are no longer bathed in a homogeneous liquid, which alters the functioning of your battery.
Good to know: A wide range of services are available at the Classic & Vintage Motorcycle Garage, a workshop specialising in classic, vintage, and antique motorcycles.
1. Access the battery
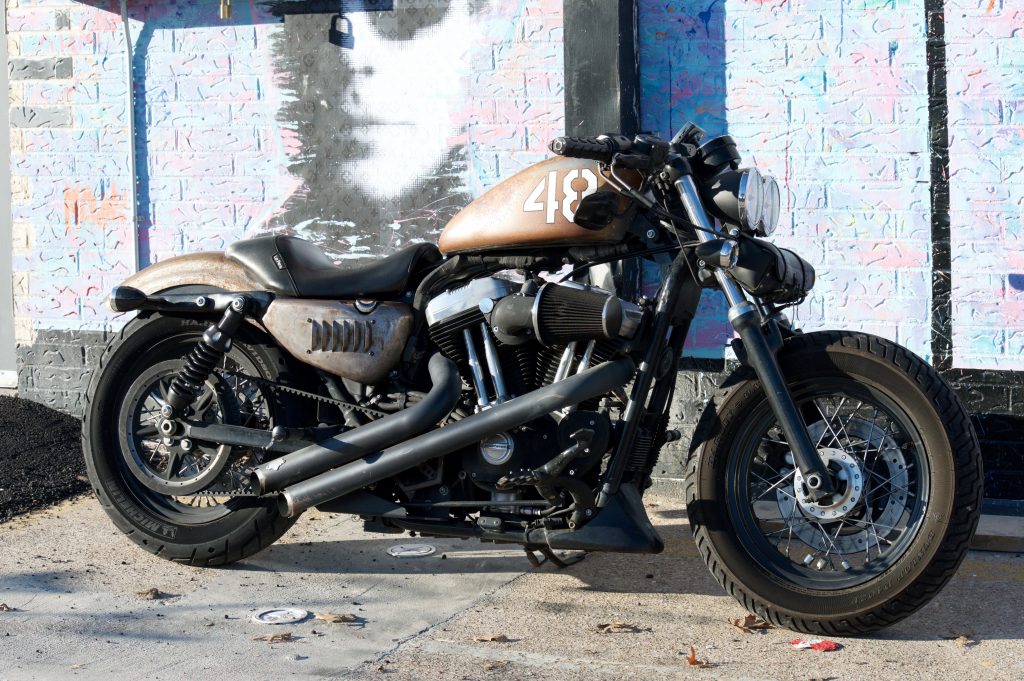
In all the cases mentioned above, you need to access the battery. Usually located under the seat, the battery is sometimes covered with a plastic cover. More rarely, the battery is sometimes housed in the side panels of the fairing, engine cover, or between the fuel tank and the air box.
Refer to your motorcycle’s service manual to locate the battery compartment, and remove items such as the seat and covers to gain access.
2. Remove the battery
– Using the open-end wrench (or pipe wrench), remove the screws that connect the battery terminals to the wiring.
– Sometimes, an elastic-plastic strap holds the battery, so you must remove it.
– Remove the battery from its housing.
– Place your battery on a dry work surface.
3. Clean the terminals
– Using the open-end wrench (or socket wrench), remove the screws that connect the battery terminals to the wiring.
– Using the wire brush, scrub the battery terminals to remove any oxidation and restore a good connection.
– For unsealed batteries, check the level:
◦ If it is too low, unscrew the caps and top up the level with demineralised water using the funnel.
◦ Be careful not to overflow because the acid in the battery would then attack the parts surrounding the battery.
– Reinstall the battery and reconnect the terminals. See if the power has returned. If not, go to step 4.
4. Use a booster
Some chargers have a booster function, or you may have a separate booster system. You can use it to give your battery a boost. If you don’t have one of these, proceed to step 5.
– Connect the system directly to the battery terminals on your motorcycle.
– Activate the system and start your bike.
Good to know: you should usually ride away within a few minutes to recharge the battery. If, when you return, the motorcycle does not start again, the problem is more important than a simple discharge.
5. Recondition your battery
– Using your battery charger, perform a battery cleaning and charging program.
– Position the charger’s clamps on the battery’s terminals.
– Plug the charger into the mains.
– Turn on the system (this may take several hours).
– At the end of this program, check the condition of your battery to see if it is holding a charge. If not, change your battery.
Attention: your used battery must be disposed of at a waste disposal centre to be recycled.
6. Check the voltage
If your new battery discharges, it may be due to the charging circuit or the alternator:
– Check the voltage at the battery terminals with a multimeter. The voltage should be 12 V when the engine is off and should increase once the engine is started.
– If the battery reading is good but discharges often, the problem is probably with the alternator.
Good to know: if you store your motorcycle for the winter, don’t forget to connect your battery to a charger with a “winter” function. For all pre late ’80s makes and models of motorcycles, Classic & Vintage Motorcycle Garage can repair, restore, recommission and maintain your classic motorcycles.
