Through the brake system, your car’s brake fluid transmits your brake pedal pressure to all four wheels. It is an essential safety feature. But this fluid deteriorates over time and becomes less effective.
It is then necessary to completely bleed the brake system: the old brake fluid is taken out through the four brake callipers of the wheels, replaced by the new brake fluid poured into the appropriate reservoir without any air bubbles entering. This is a simple operation but requires the presence of an assistant.
Important: Changing the brake fluid every two years or every 50,000 km is recommended.
Here’s how to change your car’s brake fluid.
1. Get the suitable brake fluid
Identify the proper brake fluid for your car.
Several brake fluids are available, classified by DOT (Department Of Transportation) rating.
Refer to your vehicle’s Technical Automotive Journal for the exact number.
Check the procedure in your Technical Automotive Journal
Depending on the car, the method for changing brake fluid may have some specifics. So it’s essential to refer to your Technical Automotive Journal before you begin.
For vehicles equipped with ABS, there may be an additional step to take before changing the brake fluid (for example, disconnecting the battery).
Warning: If you empty the ABS by mistake, you must take your car to the garage!
For some cars, brake fluid replacement is done with the engine running. See the Technical Automotive Journal for details.
2. Access the bleed screws behind the wheels
There are 2 possible solutions to access the bleed screws on the brake callipers of the four wheels.
Case 1: Access the bleeder screws without removing the wheels
Brake the wheels of your vehicle fully.
Slide under the car and access the bleed screws without removing the wheels. If you have a pit, this will be even easier.
Case 2: remove the wheels
Removing the wheels to access the brake callipers and their bleed screws is sometimes necessary.
Place your vehicle on a flat surface with the handbrake on and one gear engaged.
Remove the wheel covers.
Loosen the wheel nuts one turn using a wheel nut wrench or cross wrench, which makes removal easier.
Block the opposite wheels (front wheels when removing the rear) with chocks.
Use a jack stand to lift the car.
Loosen the bolts completely and remove the wheel.
Do the same for each wheel.
3. Fill the jar with new brake fluid

Put on protective gloves and take a cloth with you to wipe off any traces of brake fluid.
Important: Brake fluid is very corrosive. Avoid contact with your skin and be careful not to leave any on your car’s paint or plastics.
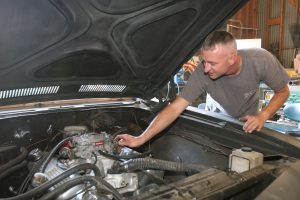
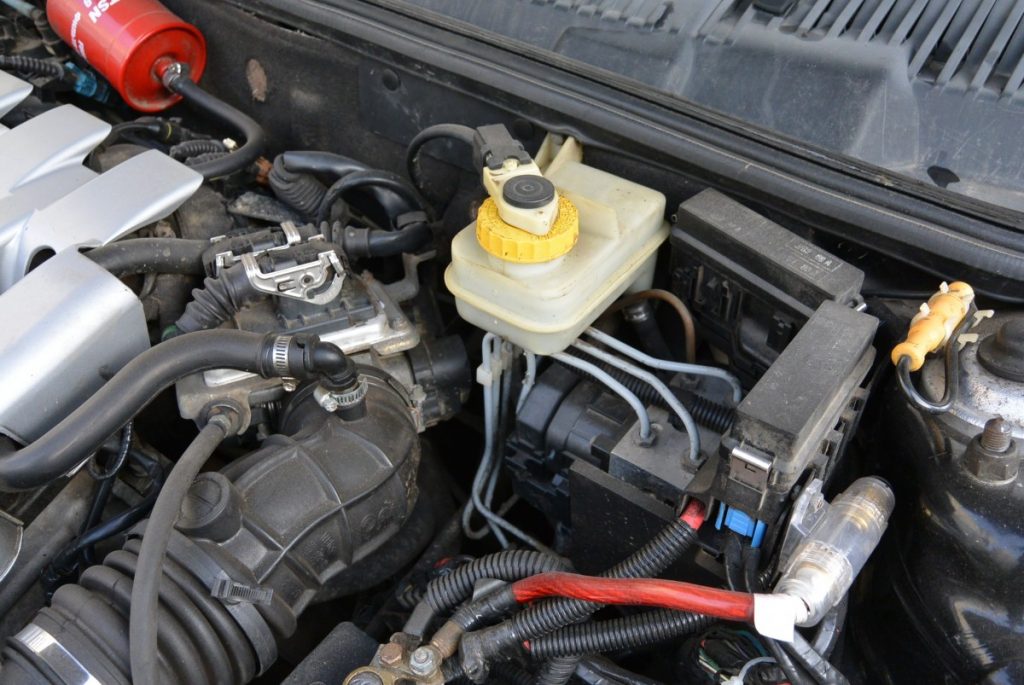
Under the hood, locate the brake fluid reservoir.
Good to know: the reservoir is located above the master cylinder, usually on the driver’s side, and filled with dark fluid.
Remove as much of the old brake fluid as possible with a pipette or syringe.
Then replace it with new brake fluid.
Before bleeding the brakes, ensure the brake fluid reservoir is filled to capacity.
4. Determine the order of bleeding the wheels
You will bleed the callipers on all four wheels one after the other. Before doing so, you must determine the order in which the wheels will be bled.
Case 1: Apply the Z pattern
In general, you start with the wheel furthest from the master cylinder. The classic scheme is, therefore:
right rear wheel;
left rear wheel;
right front wheel;
front left wheel.
This order is called the Z pattern.
Case 2: Follow another pattern
Brake bleeding can also be done in an X pattern or another order.
Check the order in your car’s Technical Service Manual before starting the procedure.
5. Bleed the first brake calliper
Good to know: Get someone to help you when bleeding the calliper. They will depress the brake pedal while you bleed the brake calliper on the wheel.
Start by bleeding the calliper on the first wheel in the order you determined in the previous step.
Install the bleeder hose on the first wheel
Clean the brake calliper.
Place a container on the ground with a few inches of new brake fluid at the bottom.
Remove the rubber cover on the bleeder screw.
Put a clear rubber hose, such as an aquarium hose, over the bleeder screw. The other end of the hose goes into the brake fluid at the bottom of the container.
Perform the bleed
Have a wrench ready to open the bleeder screw.
Have the second person gently depress the brake pedal, then hold it down when it becomes hard.
Open the bleeder screw by turning it a quarter turn. The used brake fluid will flow into the hose.
Good to know: During the draining process, the brake pedal will sink. Your helper will hold on to the brake pedal.
Have him or her pump the pedal two or three times and then keep it depressed.
When pumping, make sure the jar is always full. Refill the jar with new brake fluid approximately every 3 pedal strokes.
Important: When the brake pedal is released, brake fluid from the master cylinder reservoir enters the system. This reservoir must be refilled to prevent air from entering and having to start over again.
When clearer brake fluid comes out of the bleeder screw, close it.
Your assistant can then only release the brake pedal.
Necessary: Do not release the pedal beforehand, as air may enter the system through the hose. The few centimetres of brake fluid at the bottom of the container into which the hose enters is to prevent this: if the pedal is released, fluid will come back up, not air.
Empty the hose into your container before disconnecting it.
6. Drain the brake fluid from the following wheels
Repeat these steps for the remaining 3 wheels, following the bleeding order established earlier.
Place the bleeder hose on the bleeder screw.
Open the bleeder screw.
With your assistant pressing the brake pedal, bleed the calliper. Make sure the jar is always full enough.
Bleed the calliper until clear brake fluid comes out.
Good to know: brake bleeders allow you to bleed without the help of a person by putting the brake system under constant pressure.
7. Test your bleeding
Once all four callipers have been bled and all bleed screws tightened, depress the brake pedal again and check that no fluid is coming out.
Then rotate all four wheel hubs one at a time by hand. Make sure the hub stops dead when the brake pedal is depressed.
Reassemble the wheels and retest the braking in a real-life situation. Start driving a few dozen meters first.
Finally, collect and dispose of the drained brake fluid at the waste disposal site.
Important: this substance is very harmful to the environment. It cannot be poured into a sink or a trash can.
Materials needed to change the brake fluid in a car
Cloth
Flat wrench
Jack
Thin protective gloves
Brake fluid
Container
Syringe