

Contents
– Step 1: Locate the belt path
– Step 2: Remove the old alternator
– Step 3: Replace the belt and adjust its tension
– Step 4: Plug in the new alternator
Is your car’s alternator showing signs of weakness? This generator produces electricity for all the parts of your vehicle and charges the battery. You must remove and replace the alternator belt that drives it when you change it.
Here’s how to hook up an alternator.
1. Locate the belt routing
It is necessary to always disconnect a cable from the battery before working on the car’s electrical system.
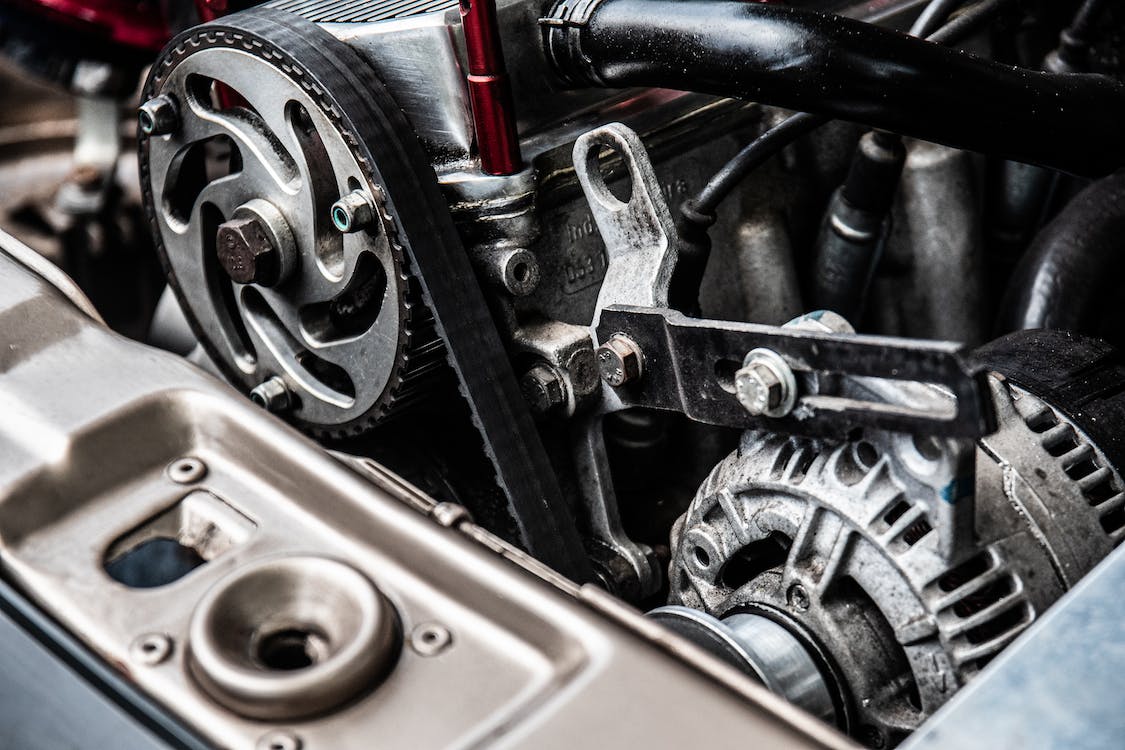
The alternator or accessory belt drives the alternator. You will need to remove it to remove the alternator.
– Before you remove the belt, find out where it goes so you can put it back on: make a sketch or take pictures.
– Also, locate the electrical connections: which wire is connected where? Take pictures or make a drawing.
2. Dismantle the old alternator

– If there are parts that prevent access to the alternator (front wheel, expansion tank, for example), remove them.
– Start by loosening the alternator belt.
◦ It is often the alternator that serves as a tensioner, using two screws on a rack. One locks the position and the other to tension or relaxation. So loosen the screw that locks, then the one that relaxes.
◦ Some vehicles are equipped with an automatic tensioner. In this case, refer to the automotive technical review to determine which manipulation slackens the belt.
– Remove the belt.
– Disconnect the electrical terminals and unscrew the alternator mounting screws.
– Remove the old alternator by rotating it in its housing.
Good to know: If the alternator is stuck, use a tire iron to pry it.
3. Replace the belt and adjust its tension
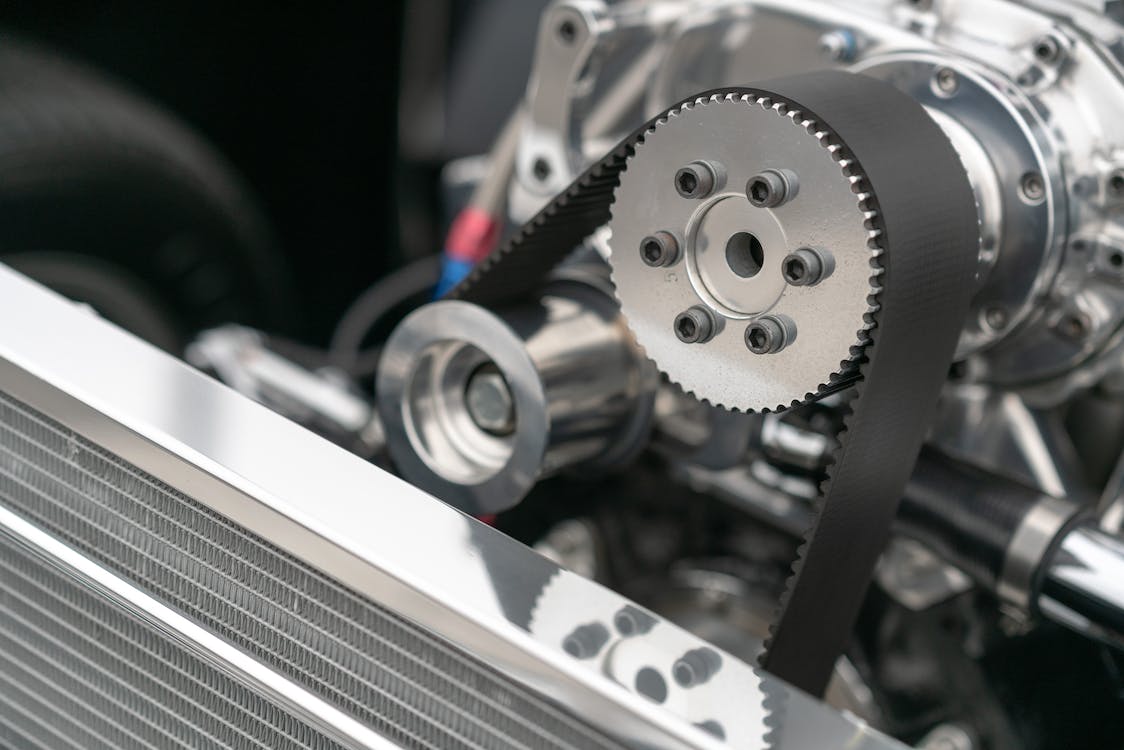
It is recommended that the accessory belt be replaced simultaneously with the alternator.
Place the new components
– Install the belt in the various pulleys according to the photos or the diagram made at the beginning of the operation.
– Then position the new alternator.
– Fit the alternator fixing screws, but do not overtighten them.
Adjust the belt tension
The adjustment depends on the tensioning system.
– If your vehicle is equipped with an automatic tensioner, this is done without intervention.
– Sometimes, the alternator itself serves as the tensioner.
– If your tensioner is manual, tighten it to the proper tension.
Good to know: check the tension with a device called a tension meter.
4. Plug in the new alternator

– Reconnect the electrical connectors to the alternator.
Good to know: You won’t have to do any soldering, just plugs to connect and sometimes nuts to tighten.
– Retighten the alternator mounting screws.
– Then reassemble all the disassembled parts.
– Remember to reconnect the battery before starting.
Equipment needed to connect an alternator
Camera
Socket wrench
Flat wrench
Paper + Pencil
Our previous post:
– Alternator Noise: Symptoms, Causes, Diagnosis;
– How to Recognize an Alternator Belt Noise;
– What to Do if Your Alternator Fails
Upcoming post:
- Alternator Belt Replacement Frequency;
- 3 Steps to Test an Alternator;
- Maintenance of the alternator regulator;
- Alternator Diode Bridge Maintenance;
- Alternator Pulley Malfunctions and Replacement.
Hope this post has been informative to you. Stay posted for our upcoming posts. Meanwhile, should you need to read on something more specific or technical, do not hesitate to jot down your requests in the comments below, and we will get back to you with as much information as possible.
