

Contents
Step 1: Take the time to prepare the installation
Step 2: Install the alarm siren
Step 3: Connect the central module of your car alarm
Step 4: Connect the alarm accessories to the car
Step 5: Connect the power to your alarm
Step 6: Test your alarm setup
Step 7: Configure the alarm remotes
Installing a car alarm can be reassuring in dealing with the many thefts of cars or accessories. There are various systems with different options.
The installation of an alarm in detail is different depending on the model, the accessories chosen, and the car to be equipped. Here are the main lines to follow to install a car alarm yourself.
Warning: installing a car alarm requires knowledge of electronics. You risk setting your car on fire if the connections are not made correctly.
1. Take the time to prepare the installation
Get the wiring diagram for your vehicle and study it carefully. Locate the fuse locations on your car.
Read carefully the installation instructions of the alarm you have purchased.
Important: Before going any further, make sure you understand all the elements of the electrical diagrams presented. If unsure, it is better to turn to a professional for the installation.
Turn off the ignition.
Disconnect your car battery by first disconnecting the black cable (negative terminal).
2. Install the alarm siren
The alarm siren is installed in the engine compartment.
Lift the bonnet and find a suitable place to install the siren: it should be away from heat sources (e.g. exhaust line) and moisture. Pointing the sound diffuser downwards is sometimes advisable to avoid water infiltration.
The siren is a fairly fragile device, so handle it carefully to avoid damage.
3. Connect the central module of your car alarm
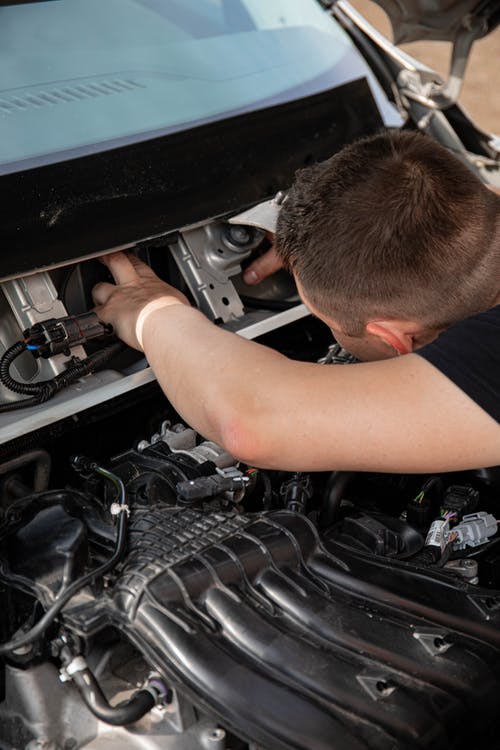
This is the heart of the alarm. The central module of the alarm will be placed in the passenger compartment of your car, far from sources of heat and humidity, close to the electrical connections and out of sight.
It is usually located under the steering wheel.
So start by removing the covers that will allow you to access your car’s electrical wiring. To do this, use the technical review of your car to locate the cables on which to plug the alarm wires. Then make the connections as indicated in the alarm installation instructions. You will have many connections to make, depending on the number of accessories.
Warning: make sure your connections are of good quality for safety reasons.
All connections must be made by soldering. Do not use quick connectors or dominoes.
Cover the soldered joints with heat-shrink tubing to avoid short circuits when the wires touch (and not just with tape). Heat it, and it will fit around the joint.
4. Connect the alarm accessories to the car
Depending on your alarm and the options you choose, you will have various accessories to connect to the central box and multiple places in your vehicle.
In each case, you will need to install the detector in the recommended location and run the wires through the car’s covers to the central module.
Glass breakage sensor: a microphone to be connected to the windscreen’s base, next to the pillar.
Door opener: You will need to add a bonnet switch. This is a push button that checks that the bonnet is closed. Make sure it goes down a few millimetres when the bonnet is closed. Do not place it on the soundproofing panels or outer bodywork, which could deform over time and cause false alarms. Add a layer of grease to prevent corrosion and maintain electrical contact.
The alarm wires will be connected to the wires that already detect the opening and control the lighting for the other doors and the boot. Diodes may need to be added to the circuit.
Level sensor, also known as anti-lift protection: This accessory prevents removal by a tow truck or theft of the rims. The device is installed in the car, regardless of location. It will activate when the doors are closed.
Volumetric sensors: These are placed in the passenger compartment, at the level of the windscreen pillars, and check that there is no opening (constant air volume in the car).
Anti-aggression button: this is a button to be pressed in the event of aggression. It would help if you placed it in a discreet place but easily accessible from the driver’s seat.
Engine lock: depending on your alarm, you can connect the central module to the starter or to the electronic fuel injection pump to prevent starting in case of an alarm.
Horn control: A bypass of this control allows the alarm to activate the horn in case of an alarm.
5. Connecting the power to your alarm
Once all the connections have been made, you can connect your alarm to your car’s power supply.
If possible, connect the negative cable directly to your car’s ground. Otherwise, connect it to the negative terminal of the battery.
The positive cables of the central module will be connected directly to the fuse box.
Finally, reconnect your battery.
6. Test your alarm assembly
Each alarm model has a test procedure to verify that all connections are working correctly. Follow the instructions for your chosen model.
In general, you will need to close all openings (bonnet, doors, boot) and perform some manipulations in a limited time to see if all sensors are operational and sending the correct information.
7. Configure the alarm’s remote controls
You can still configure your alarm to customize your remote control settings. For example, you can adjust the sensitivity of certain sensors, determine the alarm response time, choose the actions to be taken in case of an alarm, etc.
Please refer to the manual of the model you have chosen.
Materials needed to install a car alarm
Soldering iron
Wire stripper
