
Contents
– Timing belt or timing chain?
– Step 1: Determine the right time to change your belt
– Step 2: Check your engine
– Step 3: Remove the parts that allow access to the belt
– Step 4: Remove the belt and its accessories
– Step 5: Put the new belt in place
– Step 6: Tension the belt
– Step 7: Make sure the engine is running properly
– Step 8: Reassemble the rest
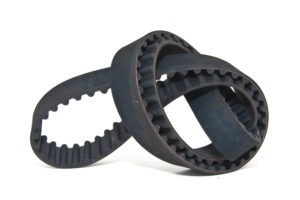
The timing belt is a central part of the engine; it is a toothed belt that synchronizes the pistons’ movement with the valves. It drives the crankshaft, the camshaft, the injection pump for diesel engines, and the water pump on some vehicles.
When you are changing the timing belt, be sure to change the entire timing kit simultaneously: the belt, tensioners and idlers that guide it. If the belt drives the water pump, it’s also a good idea to replace this equipment which can be damaged during the operation.
Here are the steps to follow to change the timing belt.
Warning: The timing belt is a vital part of the engine. Replacing it is an operation reserved for experienced mechanics. Incorrect installation can lead to engine failure. Even the shift of a single tooth during reassembly can have serious consequences: the car can start smoking, misfire, lose power…
Timing belt or chain?
Some vehicles do not have a belt but a timing chain. This is the case with most BMW or Mercedes models, for example. Usually, this chain has the same lifespan as the engine. Unlike a timing belt, it does not require regular maintenance. However, it may be worthwhile to check its condition periodically.
– Check the Teflon pads for wear. They should not be marked or worn. Change them if they are worn.
– If there is any abnormal noise, check the condition of the chain.
– If necessary, change the automatic chain tensioner.
1. Determine when to change your belt
Check the maintenance intervals in the vehicle’s technical journal or owner’s manual. It varies according to the model and the manufacturer and is expressed in kilometres or years. In general, it is around 5 years and 100,000 km. However, more recent designs extend this life by better protecting the belt.
In any case, you should always change your timing belt within the time frame or mileage recommended by the manufacturer. And if in doubt, when buying a used car, it is also better to change it.
Be careful: a coolant, oil or diesel leak can damage the belt and shorten its life. It should also be changed if the head gasket or water pump is replaced.
2. Tune your engine
Start by buying or making the timing belt pins for your car. They allow you to lock the engine in a specific position during disassembly so that all the components are in the right place after the timing belt is changed. Refer to the technical review for their position. There may be more than one. You may have to remove a cover to find out exactly where they are.
Align all the marks on the crankshaft, camshaft and injection pump (for diesel vehicles), and insert the timing pins.
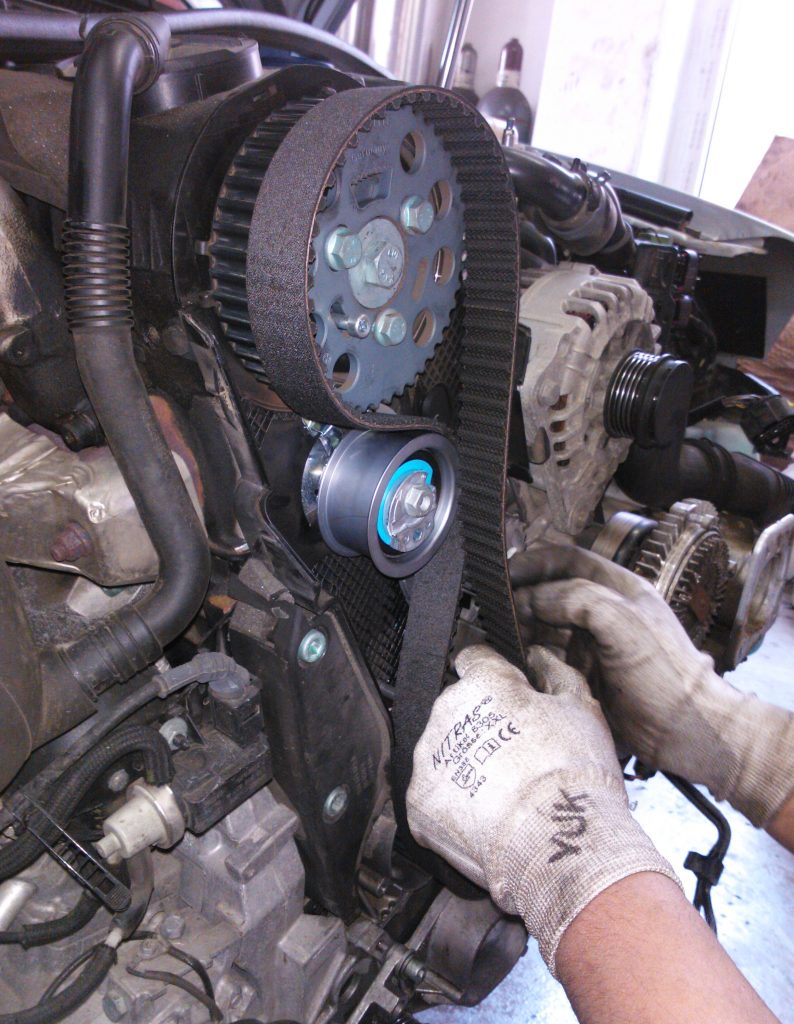
3. Remove the belt access components
– Depending on the type of vehicle, you may need to remove the wheel on the timing side and stand the car on a stanchion to gain access to the timing belt.
– Also, remove the timing covers, the plastic covers that protect the belt from road spray.
– You’ll often need to remove the dumper pulley as well. Check to see if it’s warped. If so, change it.
4. Remove the belt and its accessories
Start by loosening the idler to loosen the belt. Depending on the vehicle, it can be a hydraulic cylinder, an eccentric…
– Remove the timing belt.
– Then, remove all the idlers and the water pump.
5. Put the new belt in place
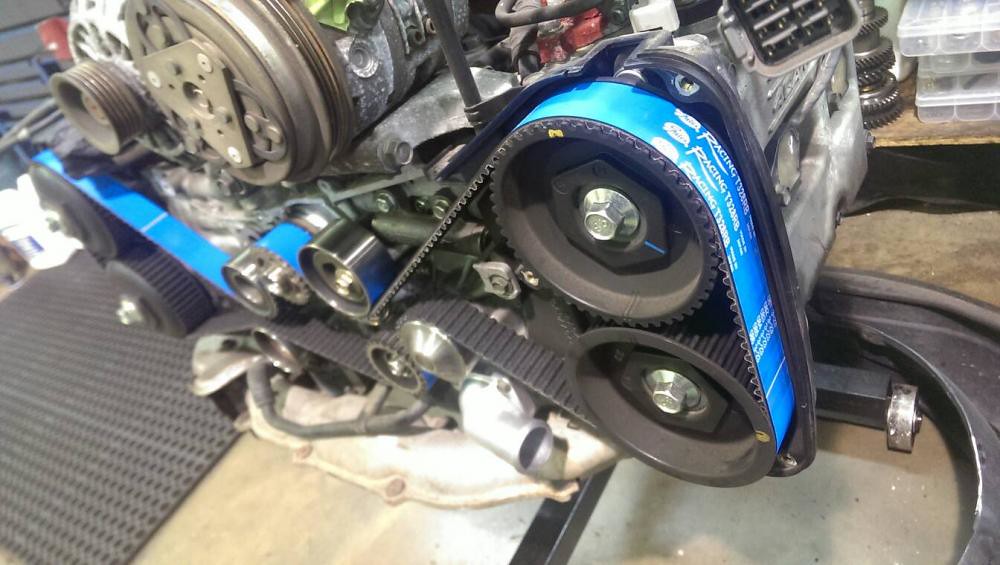
– Start by mounting the new water pump.
– Then, install each roller in its place. They all have different shapes, so you can see where they are.
– Finally, put the new belt in place. The dots on the belt should fall in front of the markings. Remember to check for direction before you put it on.
6. Tighten the belt
When all the markings are secure, tighten the belt between each point. The loosest length should be facing the idler. This is where you will finish tightening the belt.
– Sometimes, there is a tightening mark on the idler.
– If it is a hydraulic plunger, the tension is adjusted automatically.
– Sometimes, a tension meter is needed (a device to measure the belt’s tension).
– Other times, the technical review indicates how to adjust the belt tension manually. For example, when you pinch it, the belt should be allowed to turn 1/4 turn. No more, no less.
Note: if the belt is too loose, it may shift while driving. If it is too tight, it will force on the rollers and may break.
7. Check that the motor is running properly
– After removing the timing pins, use a wrench in the screw at the end of the crankshaft to turn the engine manually.
– Make at least two engine revolutions, which correspond to four crankshaft revolutions. Nothing should block the rotation. If not, it means that a piston hits a valve and that the timing is not correct: you must go back.
Note: depending on the car, it is sometimes necessary to have reassembled the crankcase and the dumper pulley to turn the engine manually.
8. Reassemble the rest
Finally, reassemble all the removed parts in the reverse order of disassembly. All screws must be tightened to the torque given by the manufacturer in the vehicle’s technical magazine, using a torque wrench.
